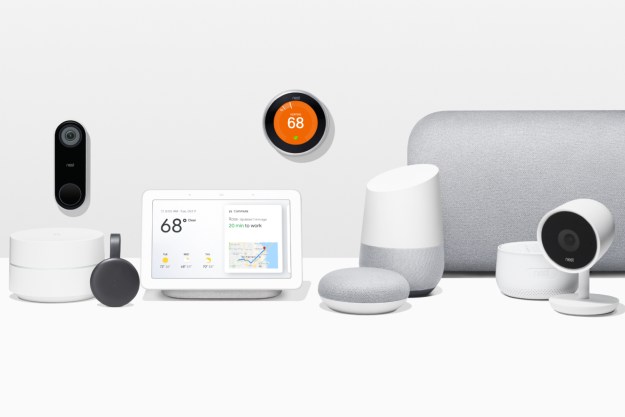
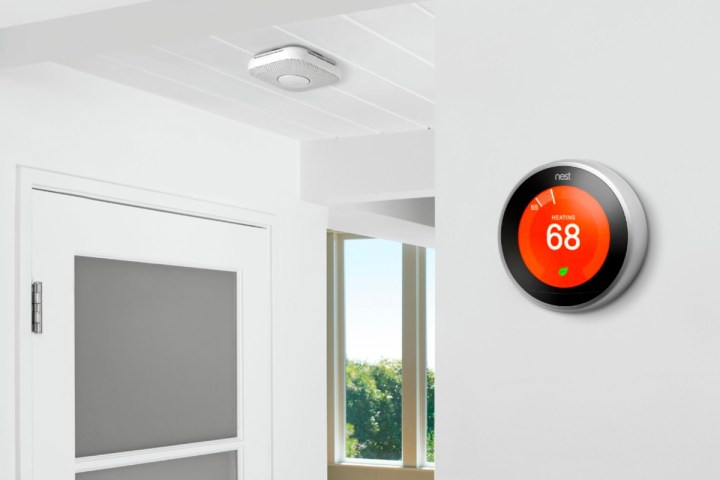
A big appeal of the Nest Learning Thermostat is that it's smart enough to help curate a temperature schedule that keeps you comfortable and saves you money. It does this by automatically changing your thermostat settings as needed – and while it's an incredible feature, it's not perfect for everyone.
Thankfully, if you prefer to create your own heating or cooling schedule, Nest gives you a simple way to deactivate learning (known as Auto-Schedule) and program in your own temps. Here's a quick look at how to turn off Auto-Schedule and build your own HVAC routine.
How to disable Auto-Schedule on the Nest Learning Thermostat
Turning off Auto-Schedule allows your manually programmed schedule to take control of the thermostat. Here's how to disable the feature using either the Google Home app or Nest app.
Step 1: Using the Google Home app, navigate to your Devices menu.
Step 2: Select your Nest Learning Thermostat.
Step 3: Navigate to the Settings menu, then Temperature Preferences, and finally Auto Schedule.
Step 4: Select Off to disable Auto Schedule.
Step 5: Using the Nest app, simply find your thermostat and dive into its Settings menu.
Step 6: You'll then see a toggle for Auto-Schedule. Swipe this to the off position to disable it.
Step 7: Alternatively, you can disable Auto-Schedule directly on your thermostat by selecting Settings, Nest Sense, then turning Auto-Schedule to off.
Setting up a new heating and cooling schedule
With Auto-Schedule disabled, your Nest Learning Thermostat will now follow your manually programmed schedule. That means you'll want to make sure your current program is what you still want to follow – and if you don't have a program scheduled, now's the time to make one. This can be done via the mobile Nest or Google Home app, though it might be easiest to change it directly on the unit. Here's how this works.
Step 1: Open the schedule screen on your thermostat. This can be found on the Quick View menu.
Step 2: From here, you can easily change your temperature settings or program in a new one.
Step 3: Keep in mind that Home or Away schedules might still kick in and alter your manually programmed schedules, so consider taking this time to check what happens to your system when you activate one of these modes.
Step 4: If you turn off Auto-Schedule and don't program in a manual schedule, your thermostat will simply hold your home at the current temperature until you change it.
Most people will find that Auto-Schedule is a great feature, so we'd recommend leaving it activated. But if it's not working up to your standards, there's nothing stopping you from building your own routines.
Editors' Recommendations
- Google’s Nest Learning Smart Thermostat is $70 off for Memorial Day
- Google Nest Doorbell vs. Ring Video Doorbell (2nd Gen): which is better for your front door?
- How to use the Echo Show as a security camera
- How to clean the Roborock S8 MaxV Ultra
- How to remove a home from your Yale account Keychain