There are lots of reasons why you'd want to change your Gmail profile picture. Maybe you have a great, new selfie you want to show off. Or you just want to update your work email with a photo that's recent and professional-looking. Whatever the reason, we can help you update your Gmail picture in just a few quick steps. We've also got you covered whether you choose to change your photo via Gmail's desktop website or through its mobile app.
How to change your profile picture in Gmail: Desktop method
Step 1: Navigate Gmail via your browser and log into your Gmail account if you're not already logged in.
Step 2: Click on your profile photo icon, which is located in the top right corner of your screen. From there, you have two options: You can either click on the little camera icon at the top of the menu that appears, or you can click on Manage your Google Account. If you choose the camera icon, just follow the on-screen prompts to change your profile picture and then click Set as profile photo. If you choose Manage your Google Account, go to Step 3.

Step 3: On your Google Account page, select the Personal info tab on the left side of your screen.
Step 4: Within the Photo section, under Basic info, select your current profile picture icon.
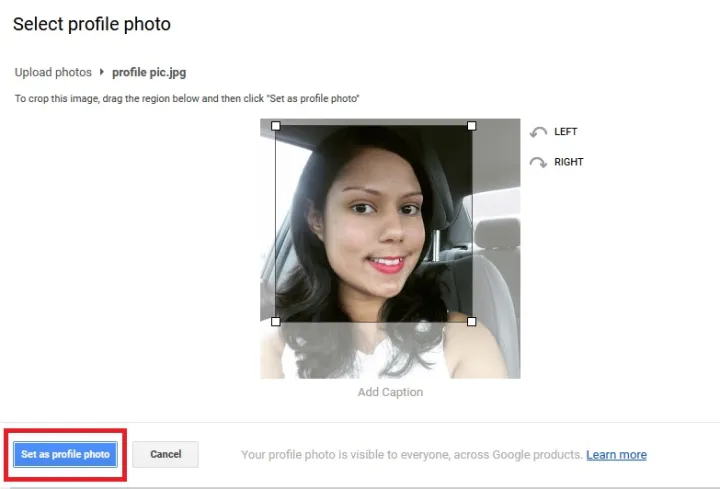
Step 5: Follow the on-screen prompts to choose or upload your photo. Then select Set as profile photo.
How to change your profile picture in Gmail: Mobile app method
Changing your profile picture in the Gmail app on iOS and Android are much the same as in the web browser. Here's how to do it.
Step 1: Select the Gmail app on your Android or iOS device to open it.
Step 2: Click on the photo icon you see at the top right corner.
Step 3: A window will pop up that says either Manage your Google Account or Google Account button, depending on your version of Android.

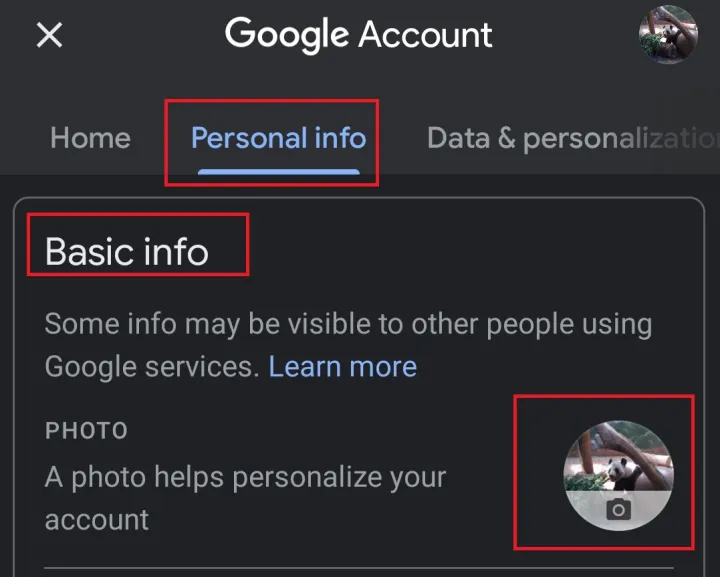
Step 4: When the next screen loads, select Personal info.
Step 5: Find the Basic info header, and click the profile photo that is currently uploaded.
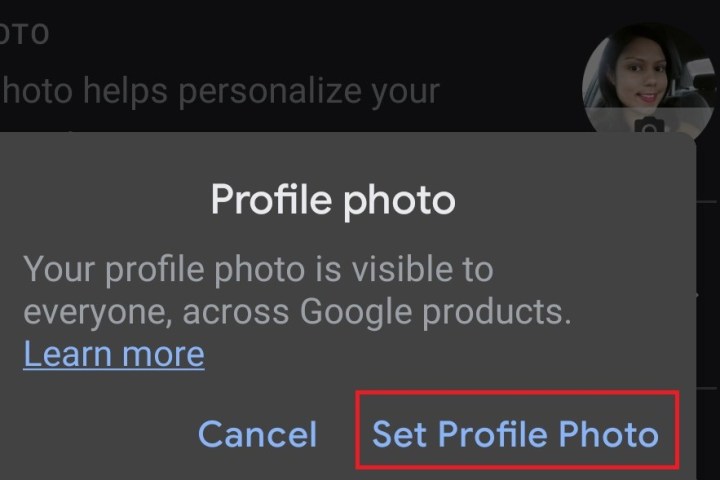
Step 6: A window will appear with an explanation; the message is longer on more recent versions of iOS, but the process is the same. Tap on Set profile photo.
Step 7: A pop-up window (Android) or slide-up menu (iOS) appears on the screen. Navigate to your photo library to pick an image you’ve already saved, or click on the camera to take a new picture.
Editors' Recommendations
- How to change your Yahoo password on desktop and mobile
- How to delete a file from Google Drive on desktop and mobile
- How to check your CPU temperature
- How to choose an external hard drive
- How to convert FLAC to MP3 on Mac, Windows, and web