'ZDNET Recommends': What exactly does it mean?
ZDNET's recommendations are based on many hours of testing, research, and comparison shopping. We gather data from the best available sources, including vendor and retailer listings as well as other relevant and independent reviews sites. And we pore over customer reviews to find out what matters to real people who already own and use the products and services we’re assessing.
When you click through from our site to a retailer and buy a product or service, we may earn affiliate commissions. This helps support our work, but does not affect what we cover or how, and it does not affect the price you pay. Neither ZDNET nor the author are compensated for these independent reviews. Indeed, we follow strict guidelines that ensure our editorial content is never influenced by advertisers.
ZDNET's editorial team writes on behalf of you, our reader. Our goal is to deliver the most accurate information and the most knowledgeable advice possible in order to help you make smarter buying decisions on tech gear and a wide array of products and services. Our editors thoroughly review and fact-check every article to ensure that our content meets the highest standards. If we have made an error or published misleading information, we will correct or clarify the article. If you see inaccuracies in our content, please report the mistake via this form.
How to simplify your Final Cut Pro workflow with saved effect presets

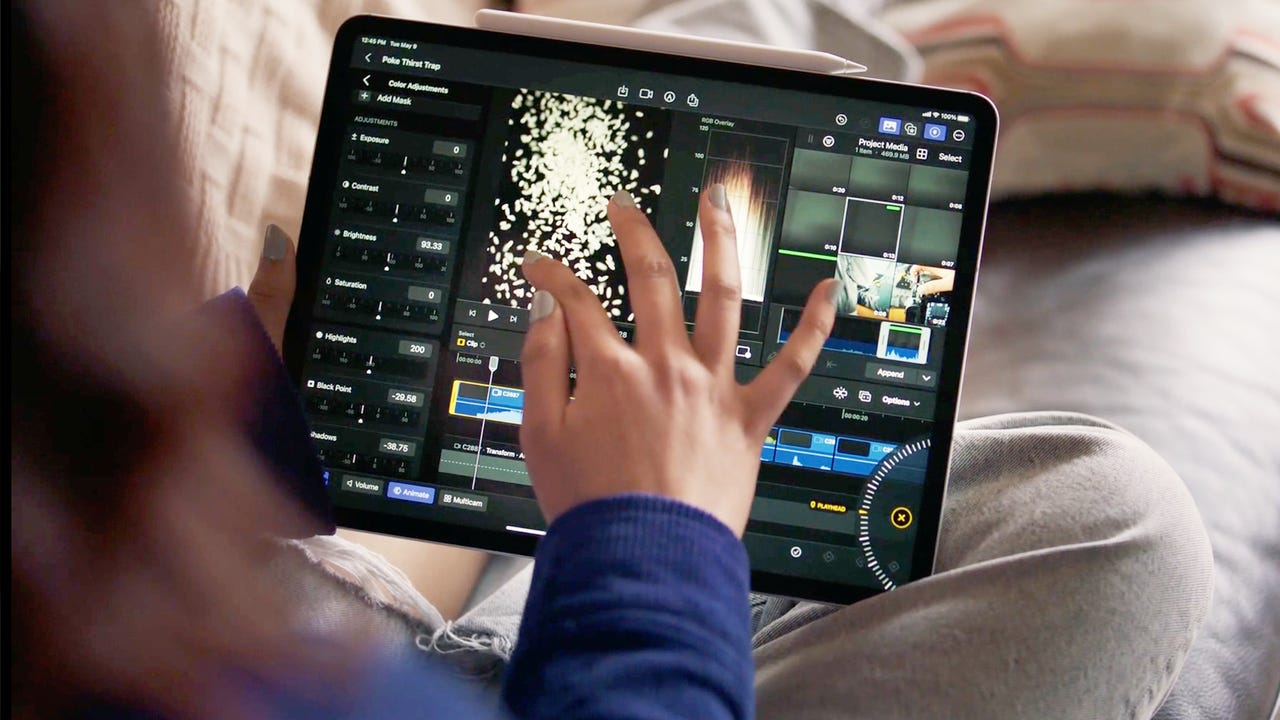
I create a lot of videos. Not only do I stand in front of the camera and film, but I'm also behind the camera setting the videos up, editing them, and coloring them. Needless to say, all this work keeps me busy.
But one of the more challenging tasks is getting the color right. This challenge is especially tough when you're working with a series of videos. I have two main video series I work with: one is for a client and the other is my personal YouTube channel, where I post a video each week that focuses on both the human and creative sides of being an artist (in my case, a writer and actor).
Also: 3 ways to improve the color in your video clips with Final Cut Pro
Those two series require a different look and feel. One is fairly sterile and professional, and the other is artistic. Not only do I use two specific cameras and lenses, but I also color the videos differently. And that, my friends, is where things can get a bit tricky.
Coloring a video can be tedious work. It's all about making tweaks to things like temperature, saturation, shadows, midtones, and highlights, where the slightest change can make a big difference.
I used to try and handle this task manually, teasing those numbers up or down to match what I'd previously done. As you can imagine, that kind of detailed work is best suited to someone with infinite time on their hands -- and I need to work quickly.
Also: How to use Photoshop: 5 basic steps to edit a photo
Thankfully, I discovered a way to save an effect preset. What once took me more time than I had to spare now takes seconds. I only have to create the exact look I want once by manually tweaking the color settings, and then I can save the setting as an effect preset. After I've saved the preset, that perfect look is always just a click away.
This trick has saved me so much time. Let me show you how it's done.
How to create an effect preset
What you'll need: The only thing you'll need for this trick is a working, updated copy of Final Cut Pro on a MacOS device. Of course, you'll also need a video clip to work with, but that's it. Let's make your workflow more efficient.
1. Open Final Cut Pro and add a clip
The first thing to do is open Final Cut Pro. Once the app is opened, locate a clip you need to colorize and drag it onto the timeline.
2. Make your color changes
One thing to keep in mind is that you can create effect presets for Effects, Sound, or Color. What you cannot do is create a single preset that includes all three. So, to create a color preset, make sure to click the clip you want to edit, click the Color icon at the top of the right pane, and then make all of the color changes you need for the clip.
You can either use the color wheels or the sliders below to make your changes.
3. Save your preset
Once you've made changes, you'll see a Save Effects Preset button at the bottom of the edit window. Click that button to open the Save Preset window.
This button only appears after you've made changes to the clip.
4. Name your preset
In the resulting popup, give your preset a name and click Save.
You don't need to change the Category or Attributes. Just give the preset a name and click Save.
Using your new effect preset
Now that you've created the new preset, using it is incredibly simple.
Also: The best laptops for graphic designers
Let's say you've created a new video in the series and you need it to have the same look as the others. Load that clip into Final Cut Pro, select the clip in the timeline, select the effects option in the Effect pane at the bottom-right corner of Final Cut Pro, scroll until you find your preset, and double-click the preset.
This step will automatically apply the exact colorization you added to the preset, so you can be certain you get a consistent look to your videos, without having to spend an inordinate amount of time doing so.
The preset I use for my YouTube videos is called MUSE CINE.
Congratulations, you just made your Final Cut Pro workflow considerably more efficient.