
From positioning your subject to adjusting the lighting, there are a lot of variables you can control when taking a photo. Sadly, the weather isn’t one of them.
Whether you’re looking to create an ominous fantasy scene with looming storm clouds, pump up the colours in a bland-looking sunset or replace the dreary English forecast with a sunny blue sky, there are countless instances in which you might want to swap out the sky in a photo with one click.
This is where Adobe Photoshop’s Sky Replacement tool comes in handy. Keep reading to learn how to use this nifty AI-powered feature.
What you’ll need:
- Adobe Photoshop
- A Creative Cloud subscription
The Short Version
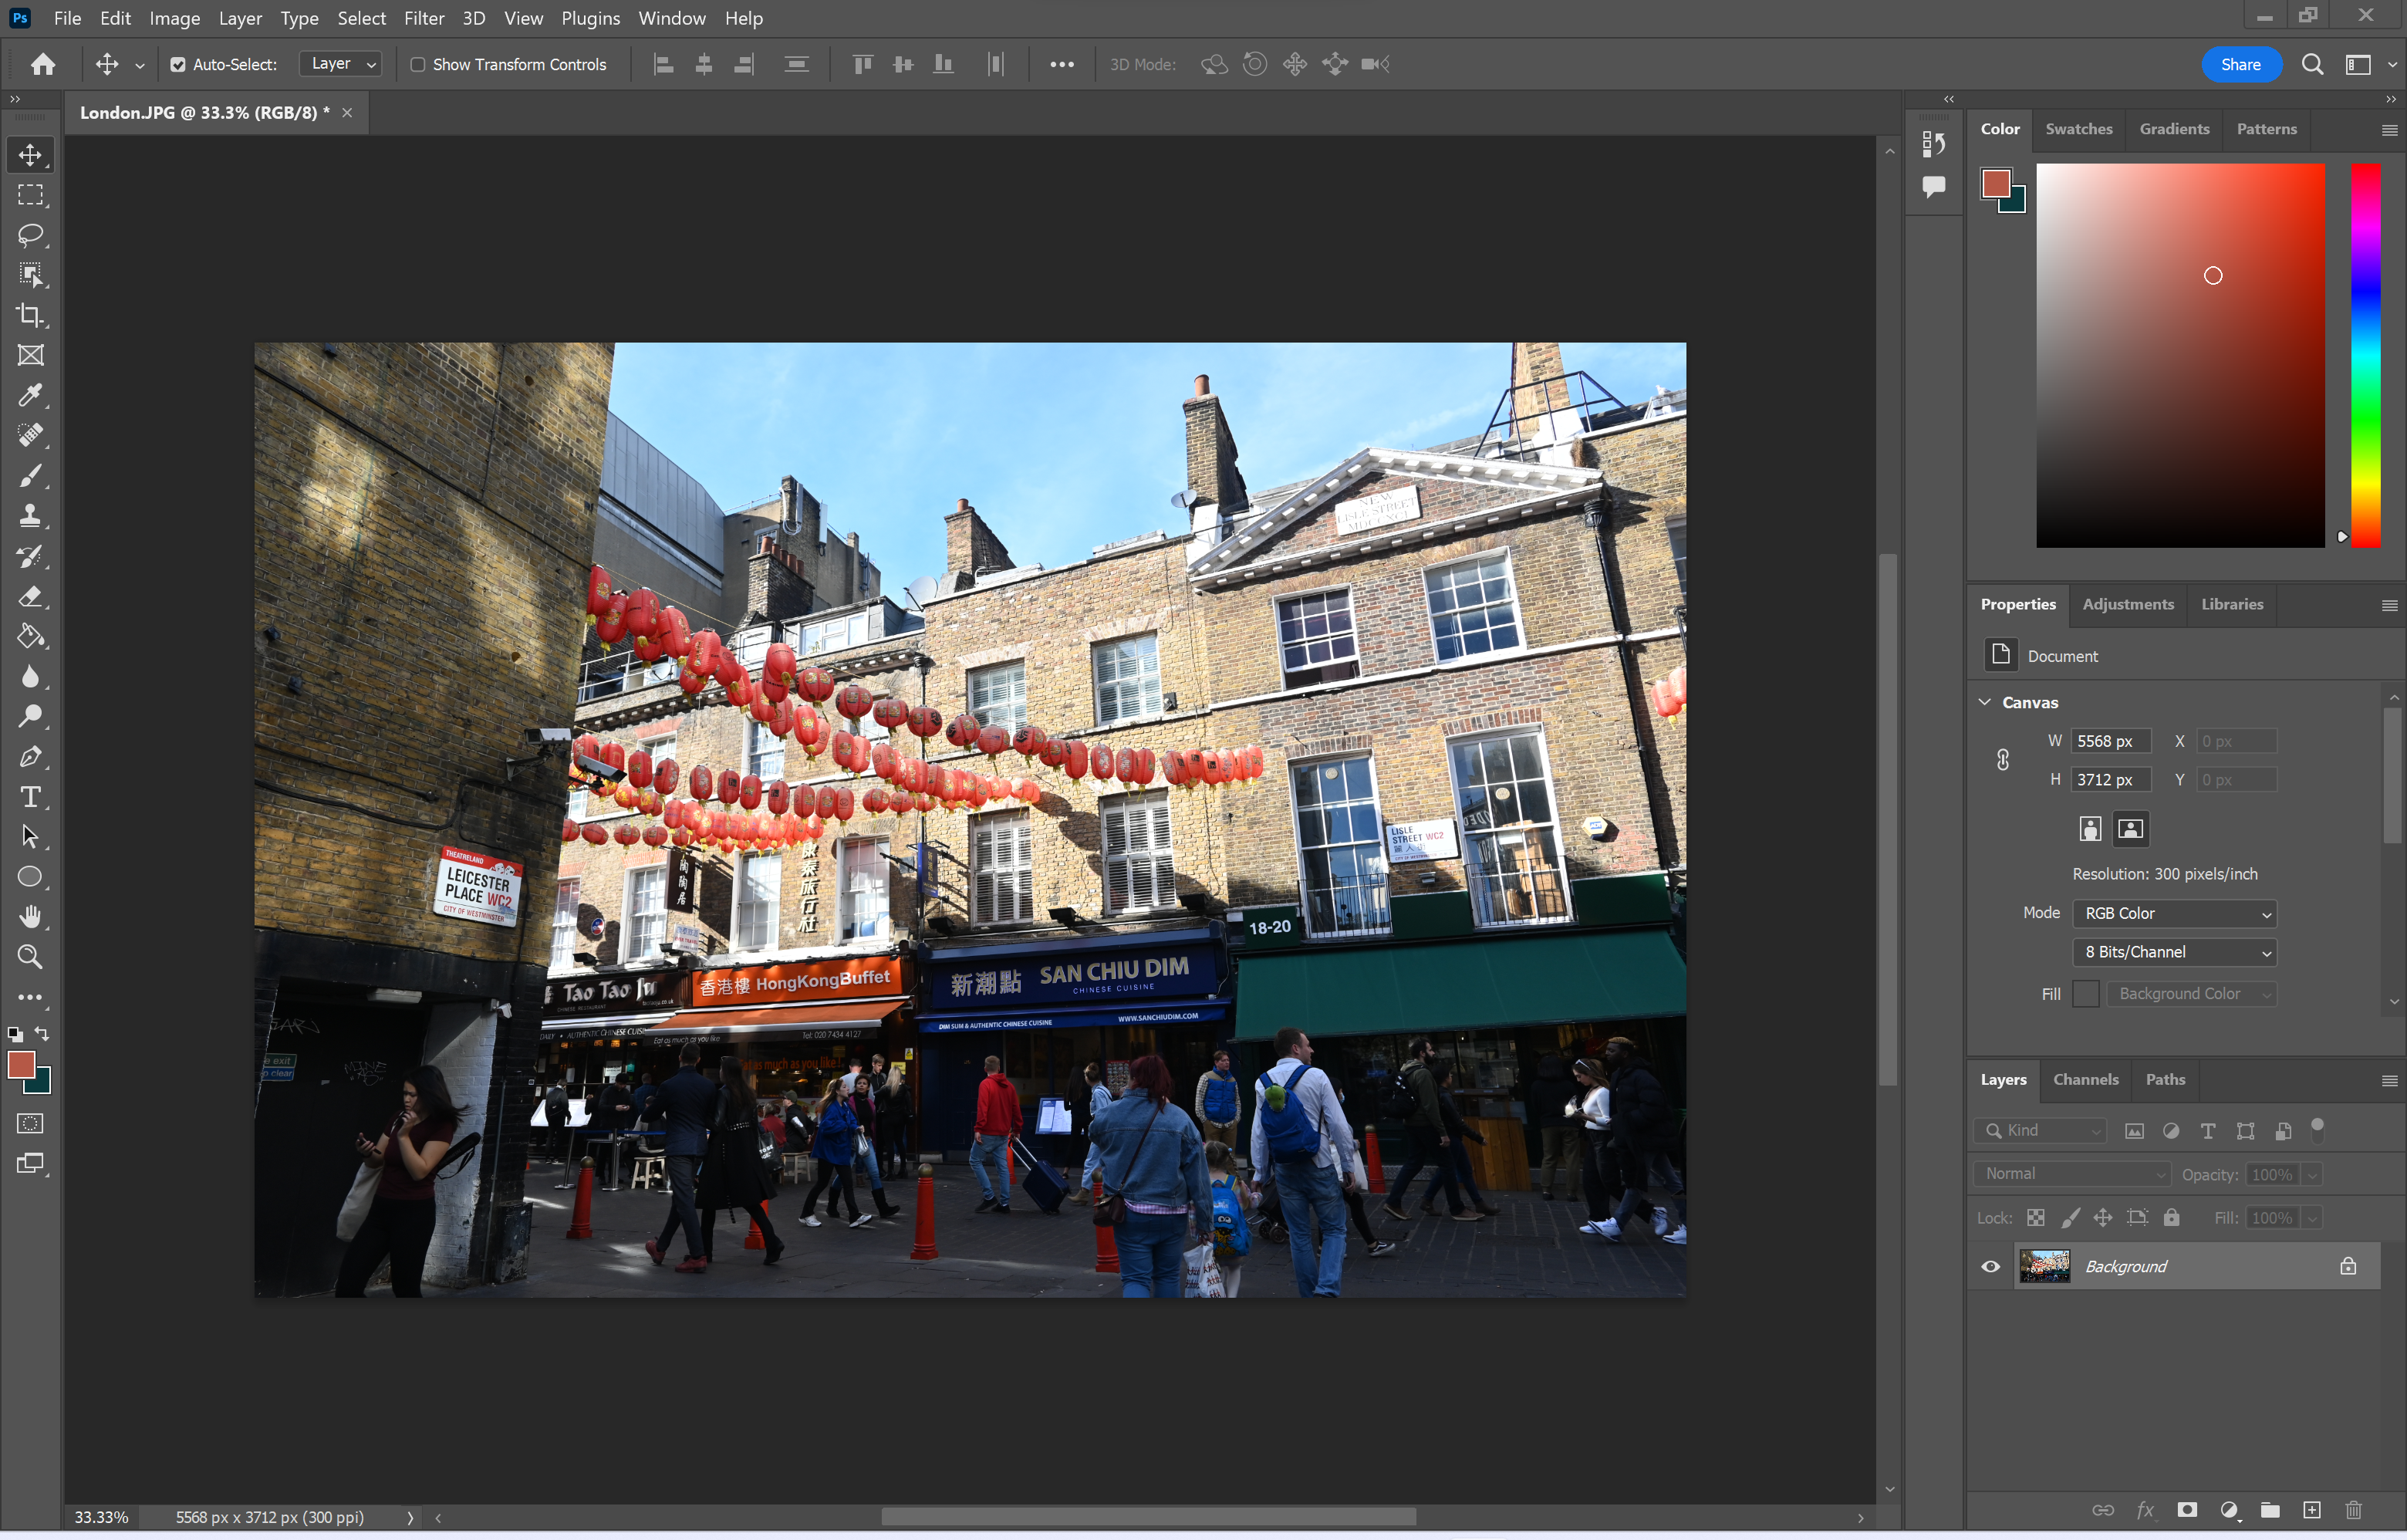
- Open your image in Photoshop
- Click Edit
- Choose Sky Replacement
- Pick a sky
- Make any adjustments and hit OK
Step
1Open your image in Photoshop

You can use any photo with the sky included for this.
Step
2Click Edit
You can find this option in the menu bar at the top of the screen.
Step
3Click Sky Replacement
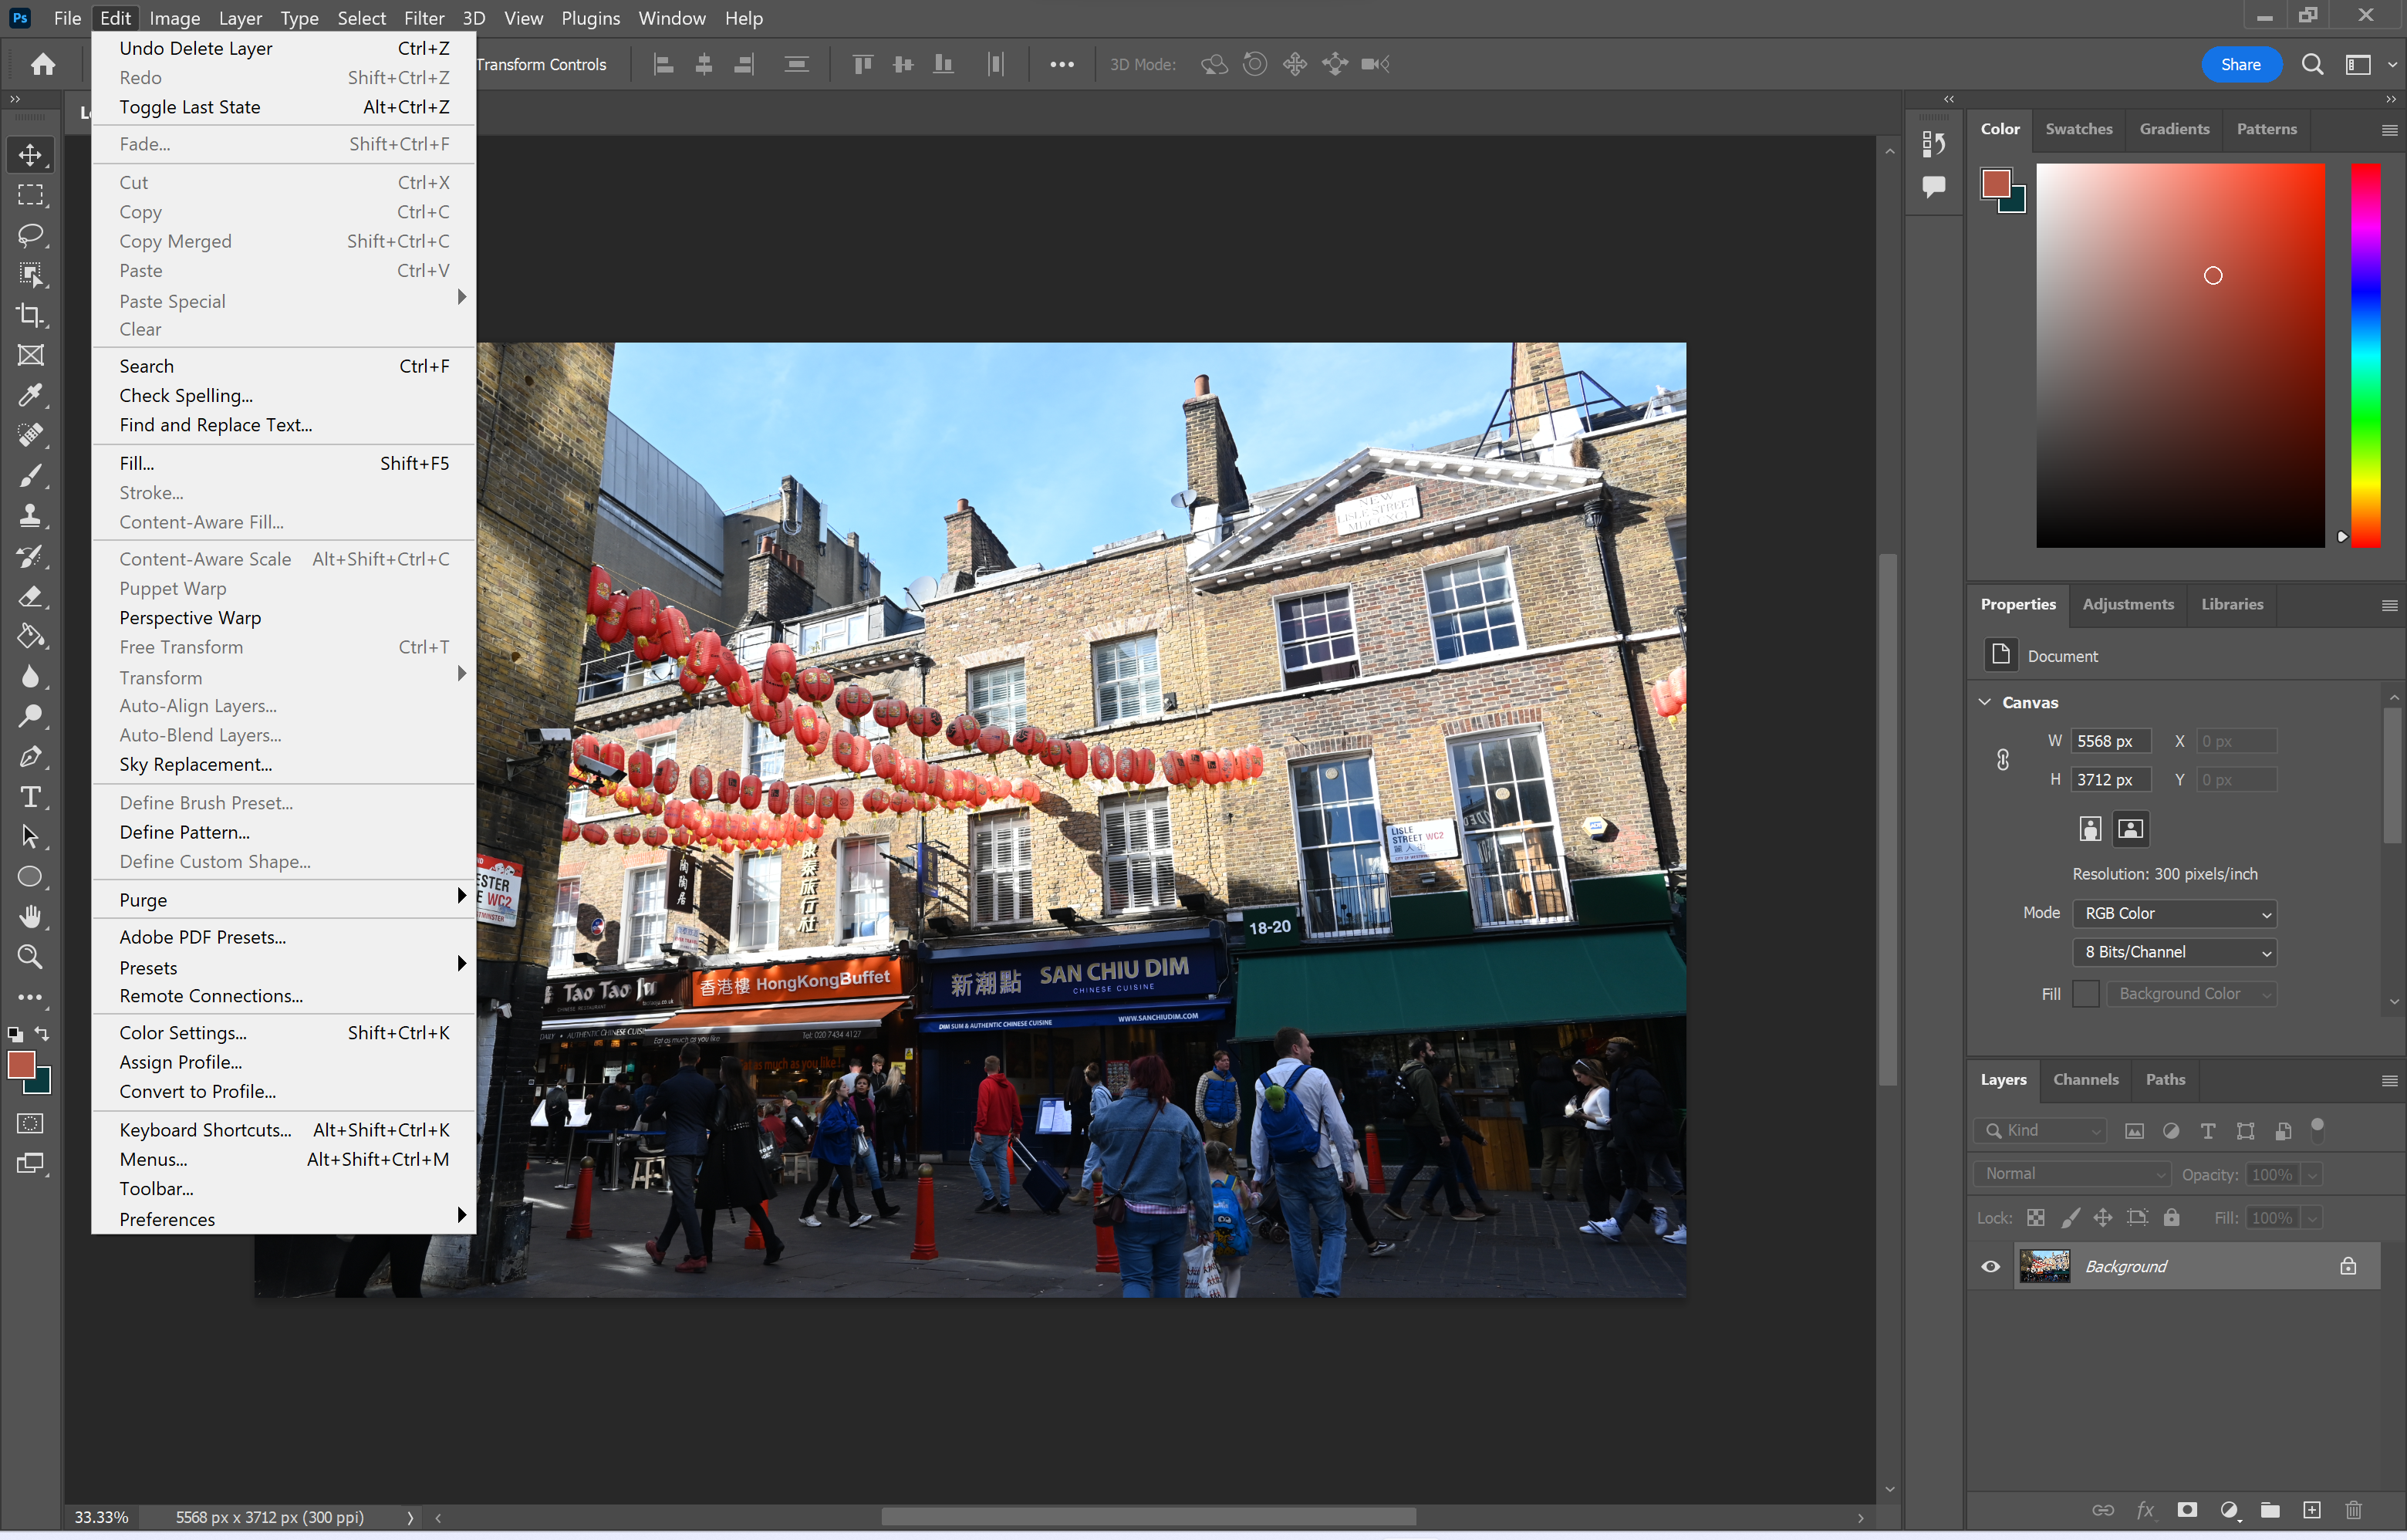
You can find this option about halfway down the Edit dropdown menu.
Step
4Click on the arrow next to the image of a sky
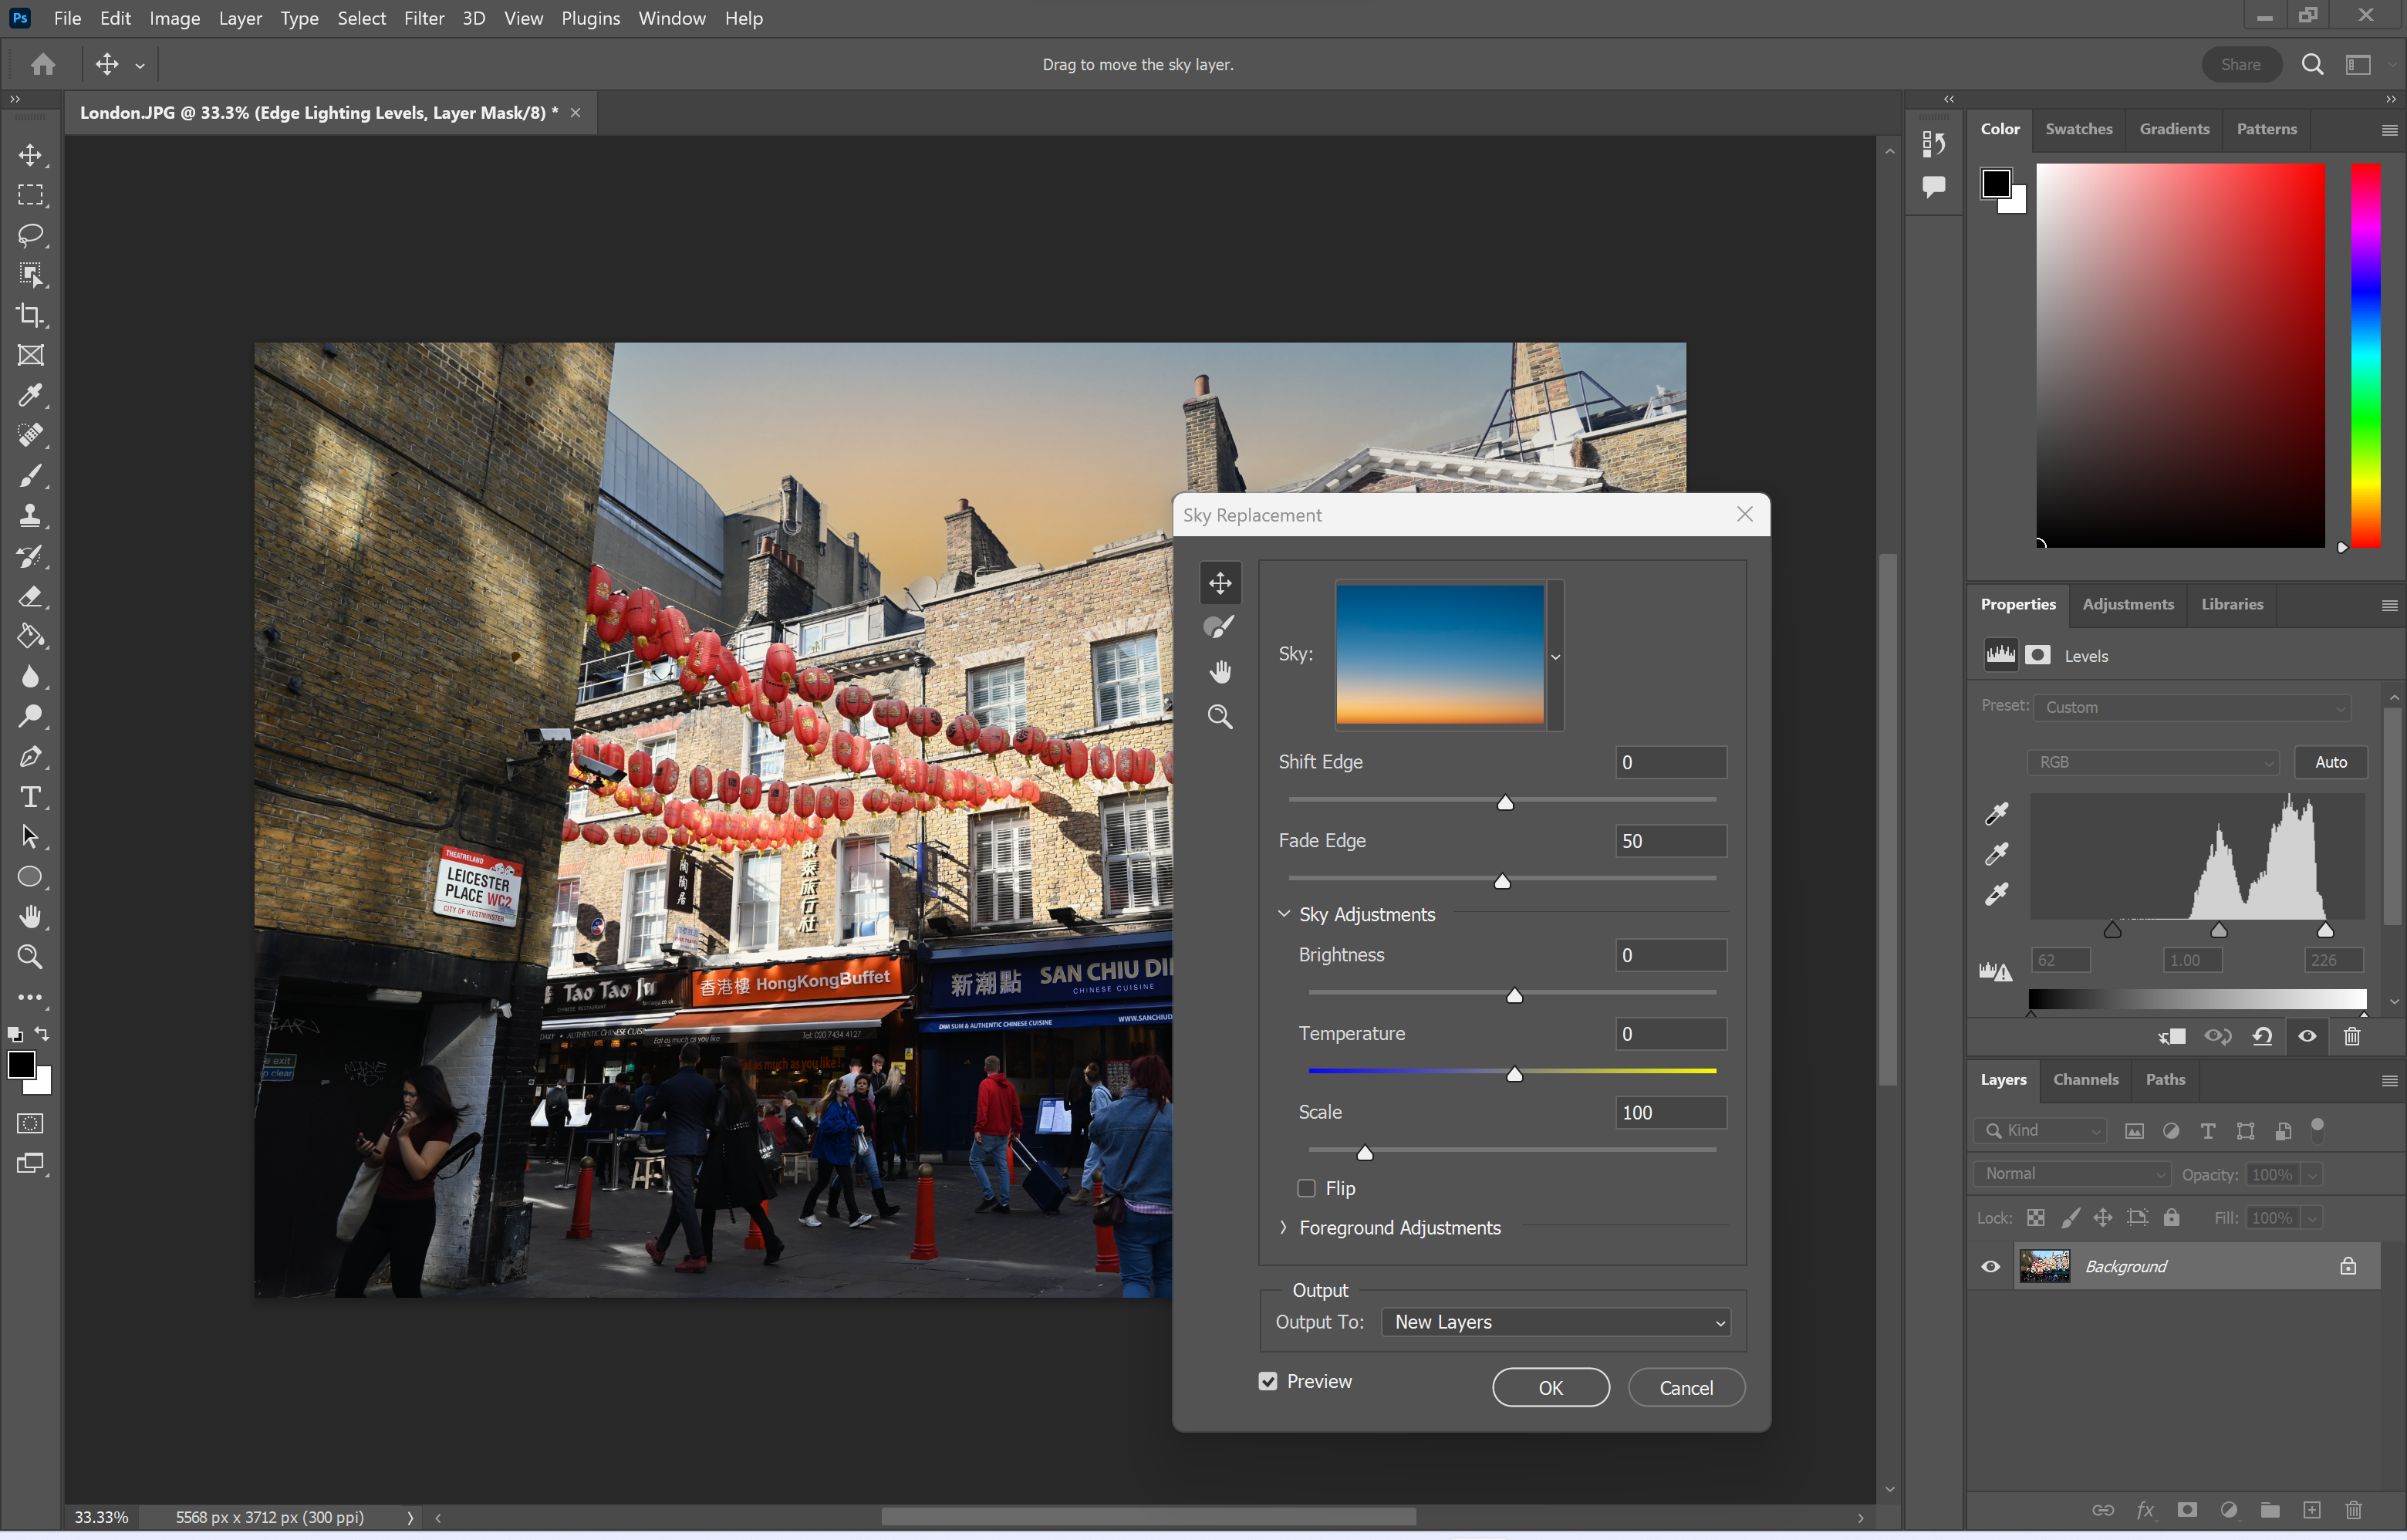
You can also skip this step if you’re happy with the sky Photoshop has chosen.
Step
5Choose a sky from the list available
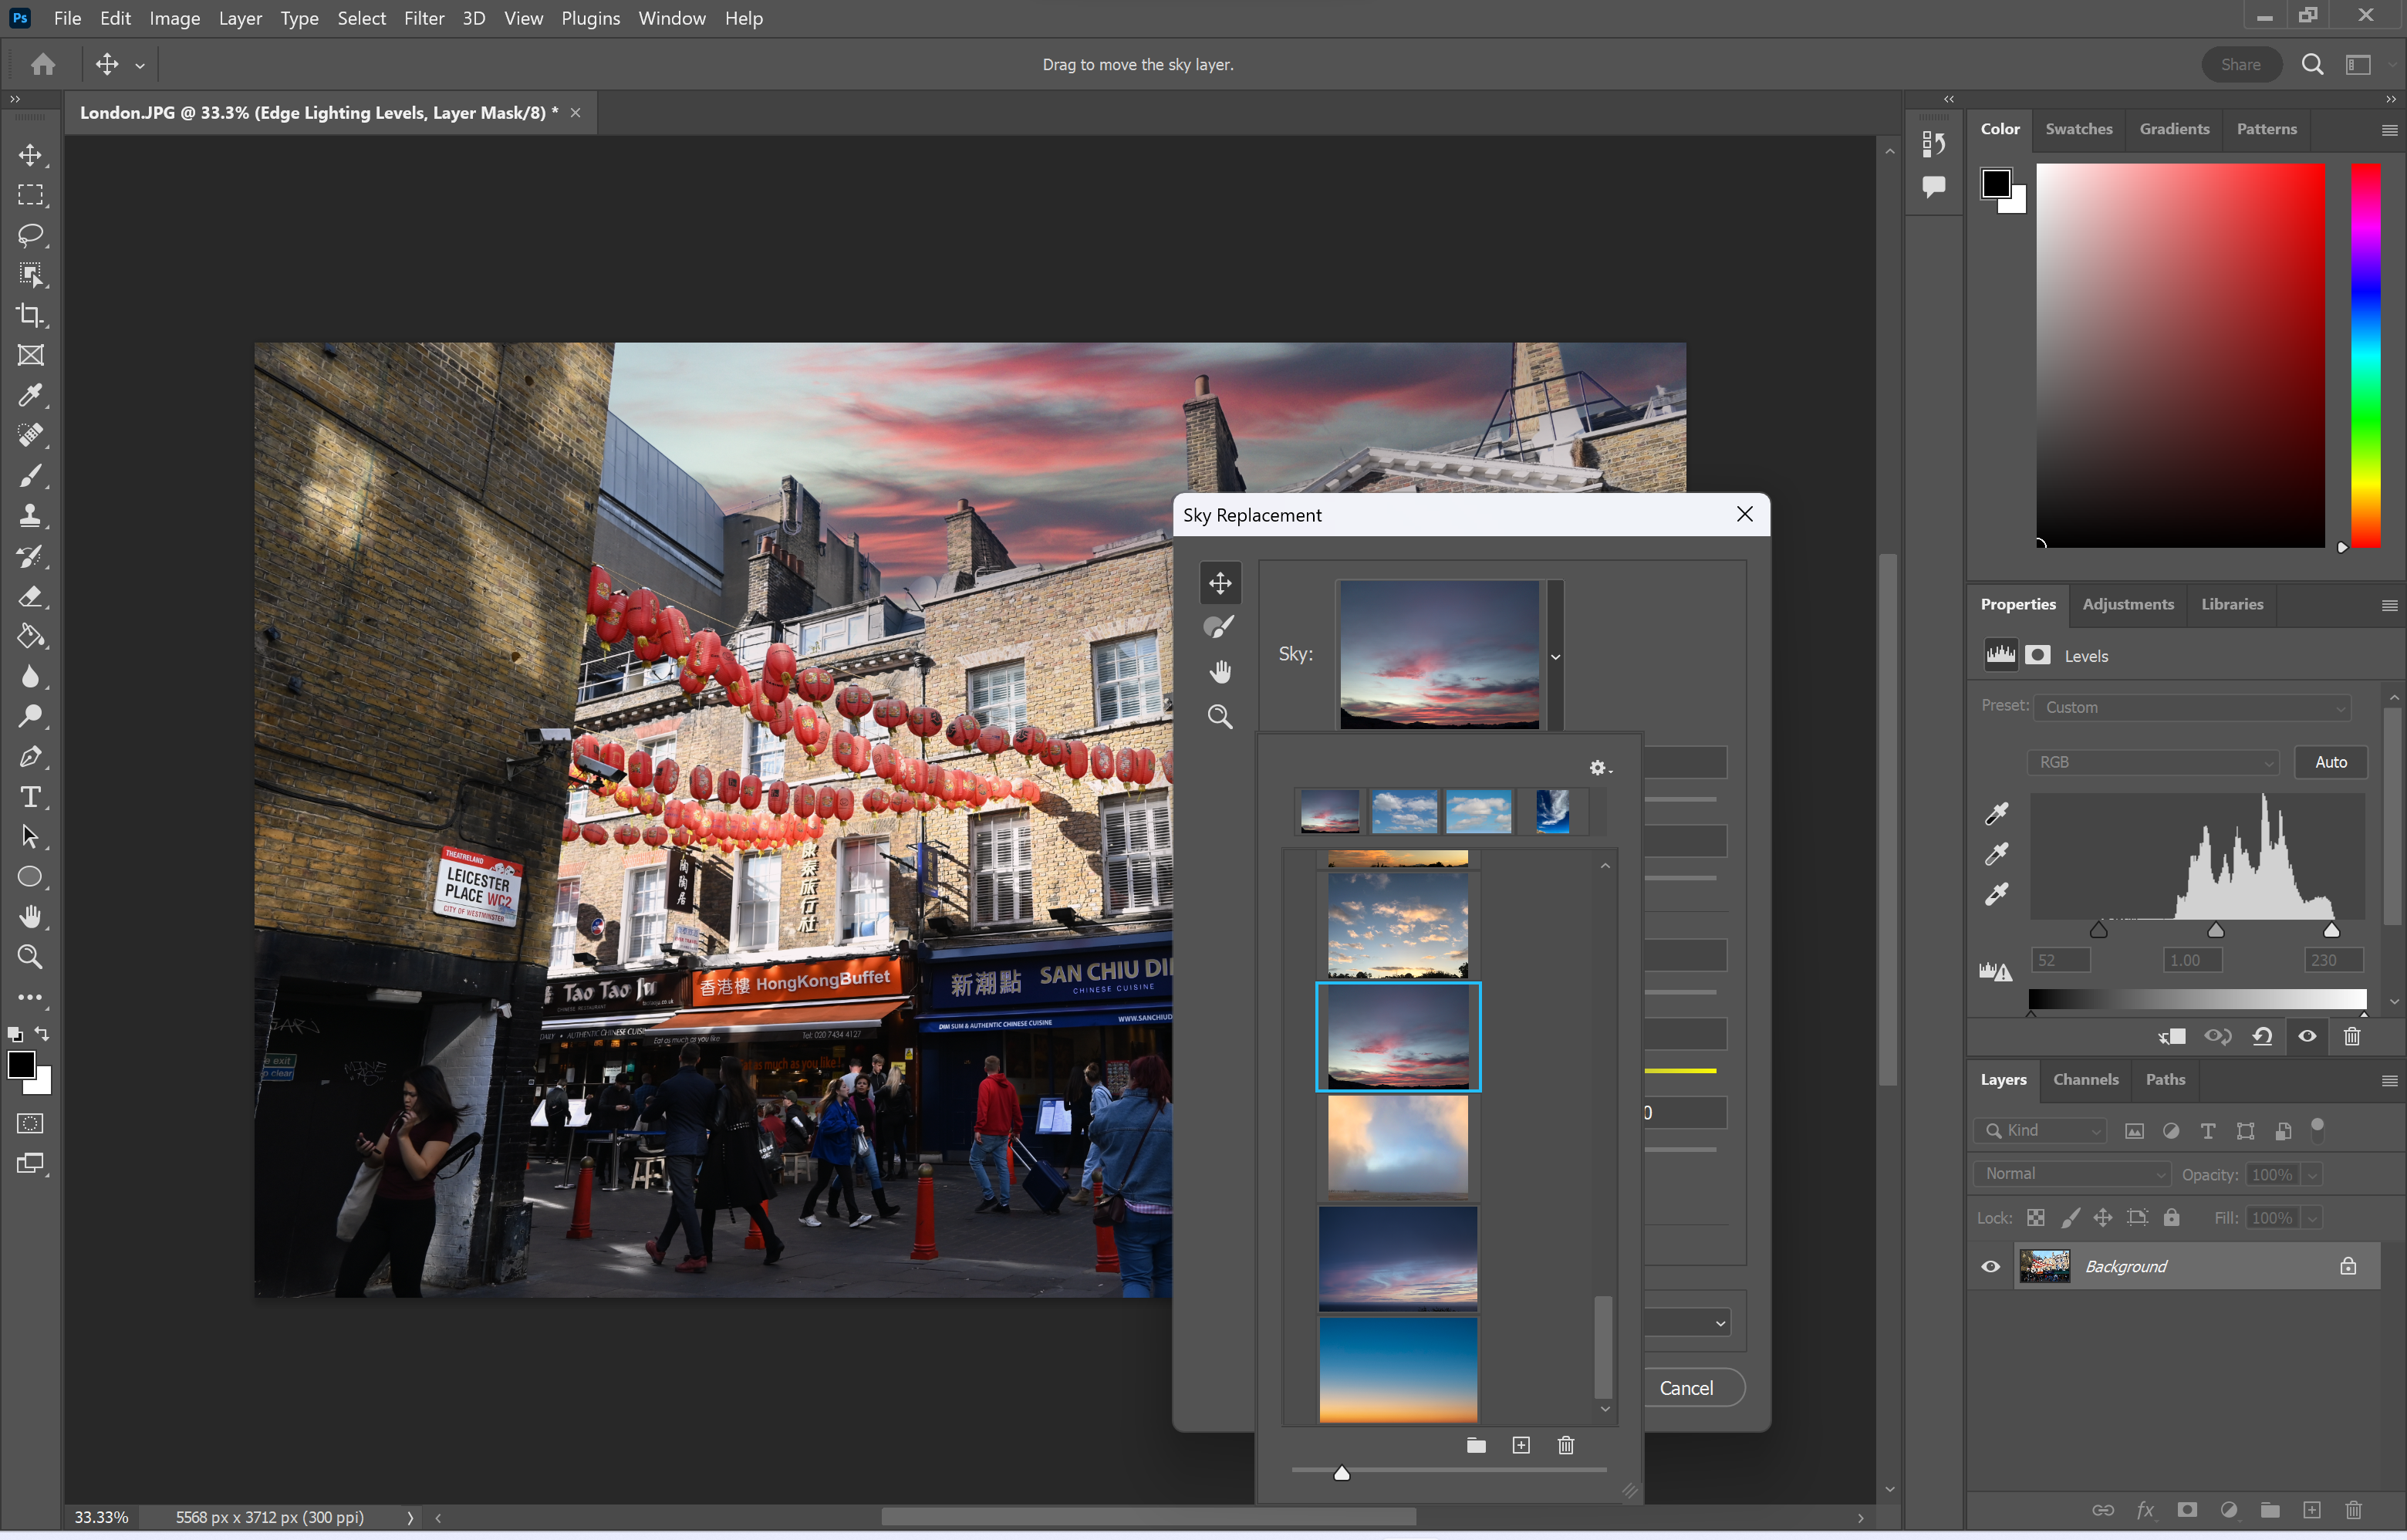
Or import your own sky image using the plus icon at the bottom of this dropdown menu.
Step
6Make any adjustments to your sky then hit OK

You can increase or decrease the brightness, temperature, scale and more before applying the sky to your image.
Troubleshooting
You don’t need to use the skies that Photoshop provides. You can always upload your own sky images by clicking on the plus icon at the bottom of the dropdown menu at step 5.
You can also use Sky Replacement to improve the sky in video content. However, you’ll need to use a video shot on a tripod because Photoshop doesn’t support motion tracking the way that Adobe After Effects can.
To use Sky Replacement for video content, simply open your video in Photoshop, go to the Layers panel, right-click on your video and convert it into a Smart Object.
Editorial independence
Editorial independence means being able to give an unbiased verdict about a product or company, with the avoidance of conflicts of interest. To ensure this is possible, every member of the editorial staff follows a clear code of conduct.
Professional conduct
We also expect our journalists to follow clear ethical standards in their work. Our staff members must strive for honesty and accuracy in everything they do. We follow the IPSO Editors’ code of practice to underpin these standards.