
Gmail labels are a great way to keep your inbox organised and tidy. Here is the simplest way to create a Gmail label.
Gmail is known for being one of the most popular email services on the market, with the main competition coming from Microsoft Outlook. One of the reasons it’s so well-loved is that it has a multitude of features that makes it easier for users to organise their inboxes, with Labels being a great example.
Labels work in a similar way to folders but with the added benefit of being able to use multiple labels on one email, giving users more control over the way they arrange their messages. If you’re interested in learning how to create a Gmail label make sure you keep reading, as we’ve broken it down into a simple step-by-step guide.
What you’ll need:
- A Gmail account
The Short Version
- Open Gmail
- Click on More
- Click on Create new label
- Name your label
- Click Create
Step
1Open Gmail
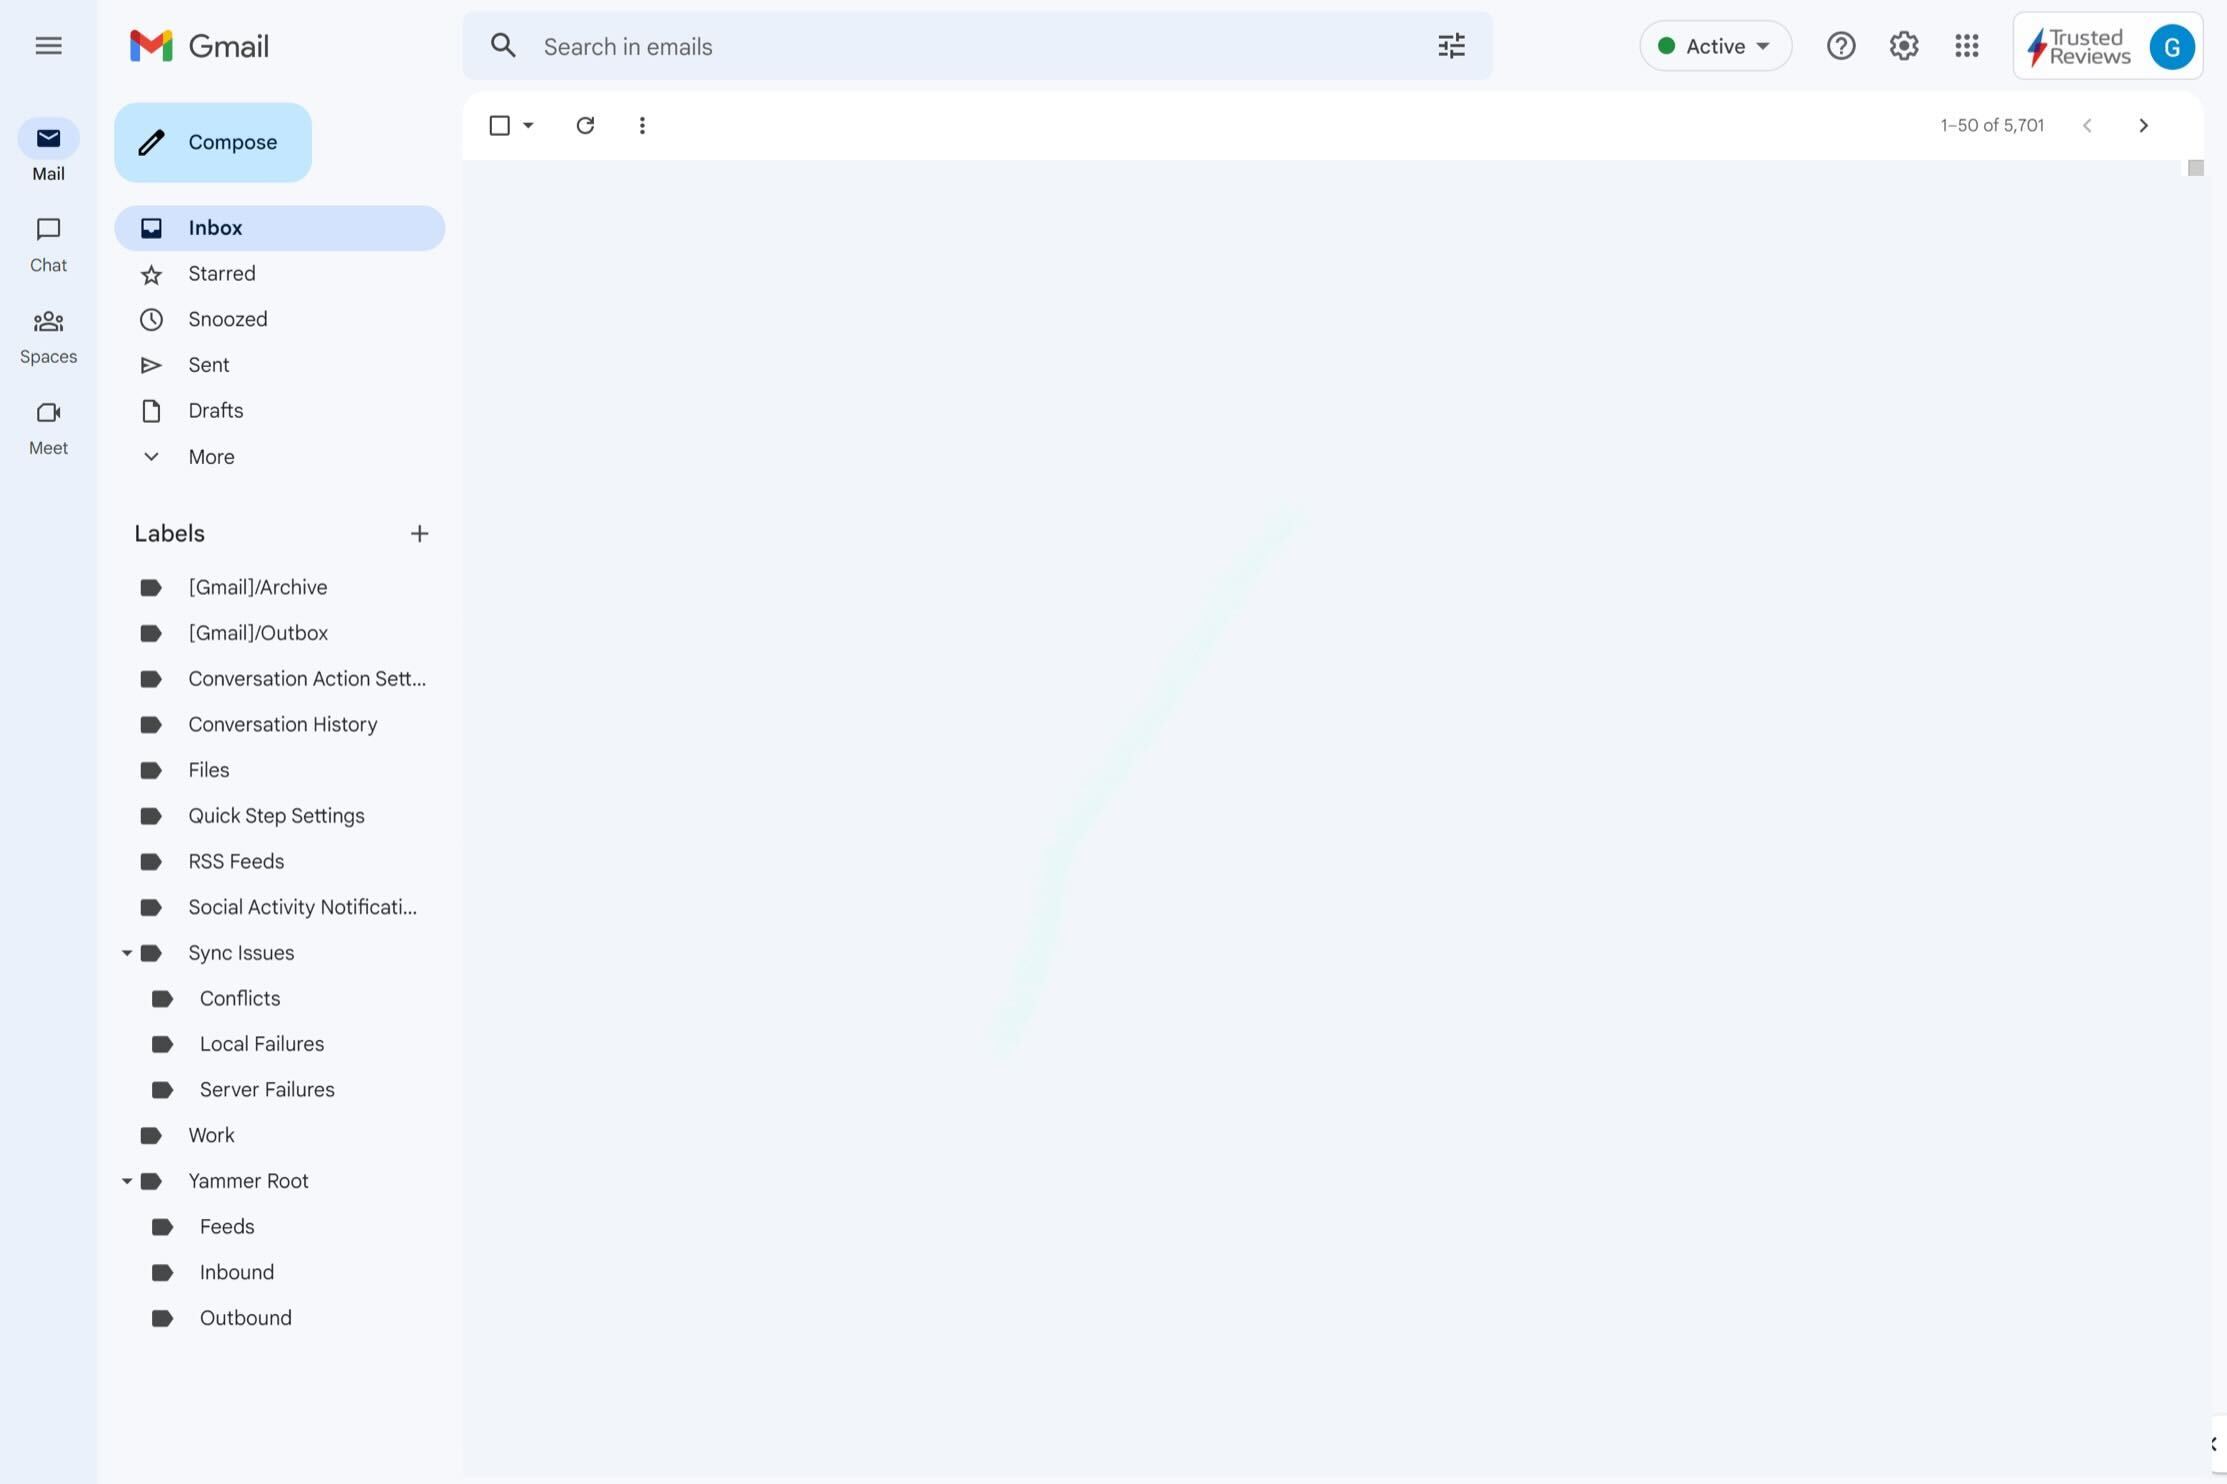
Open up the Gmail app on your desktop. Labels can also be created on Android and iOS apps, but the process is slightly different.
Step
2Click on More
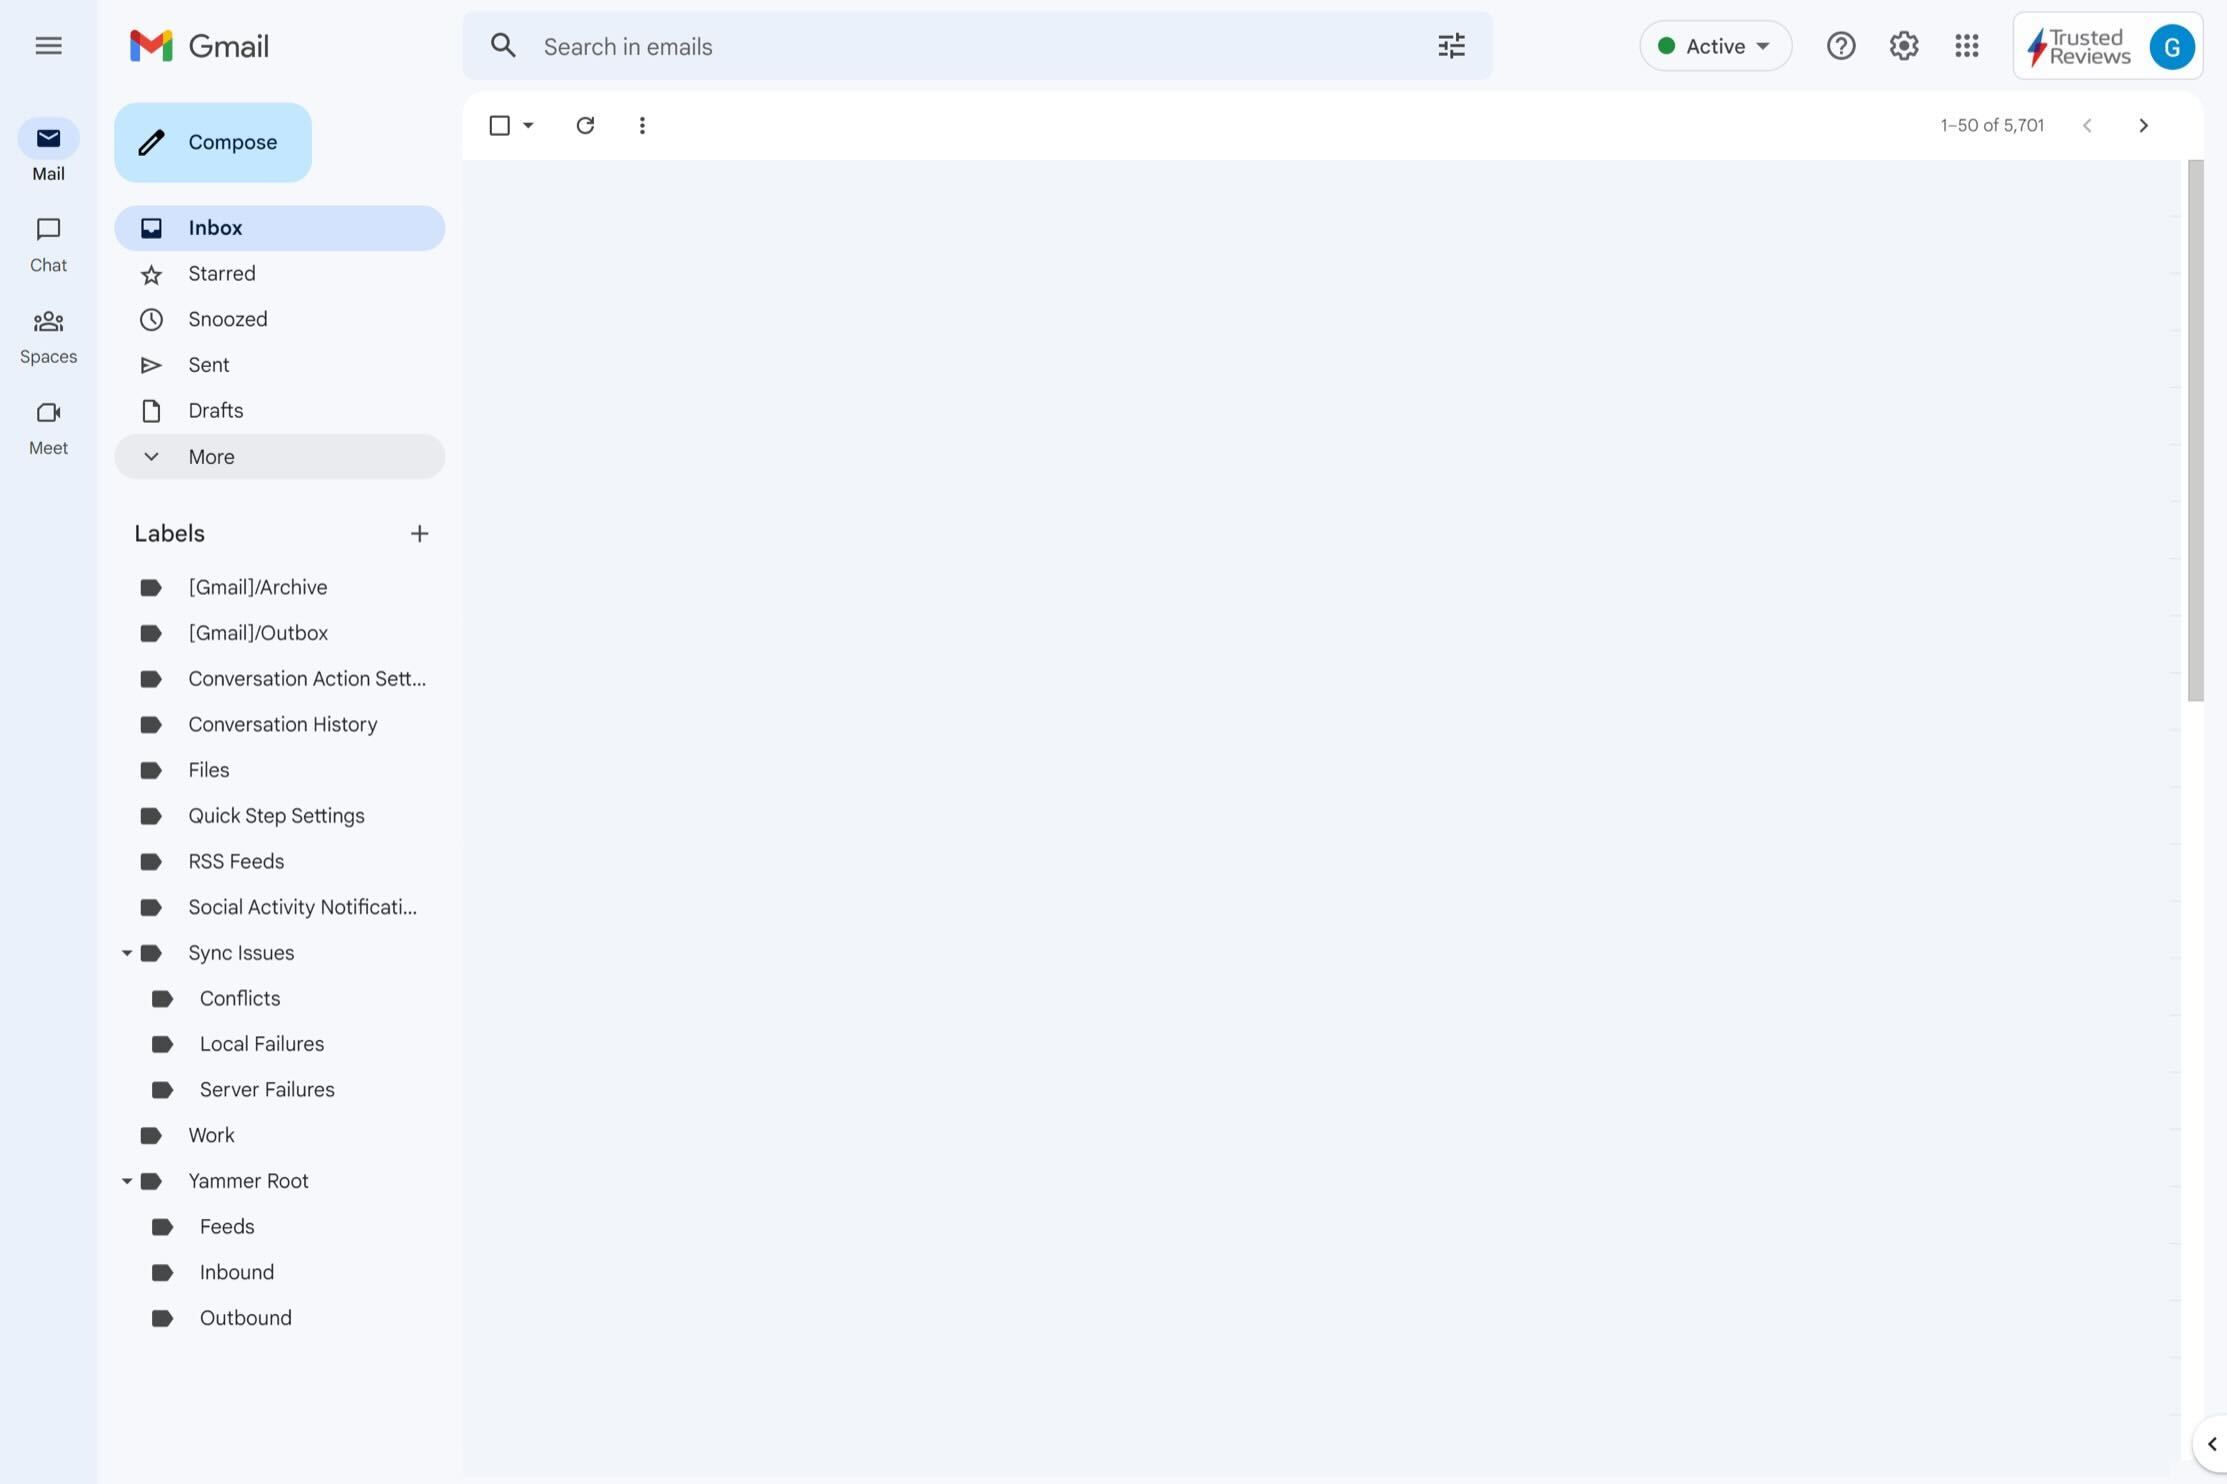
From the menu on the left side of the screen, click on the button that says More.
Step
3Click on Create New label
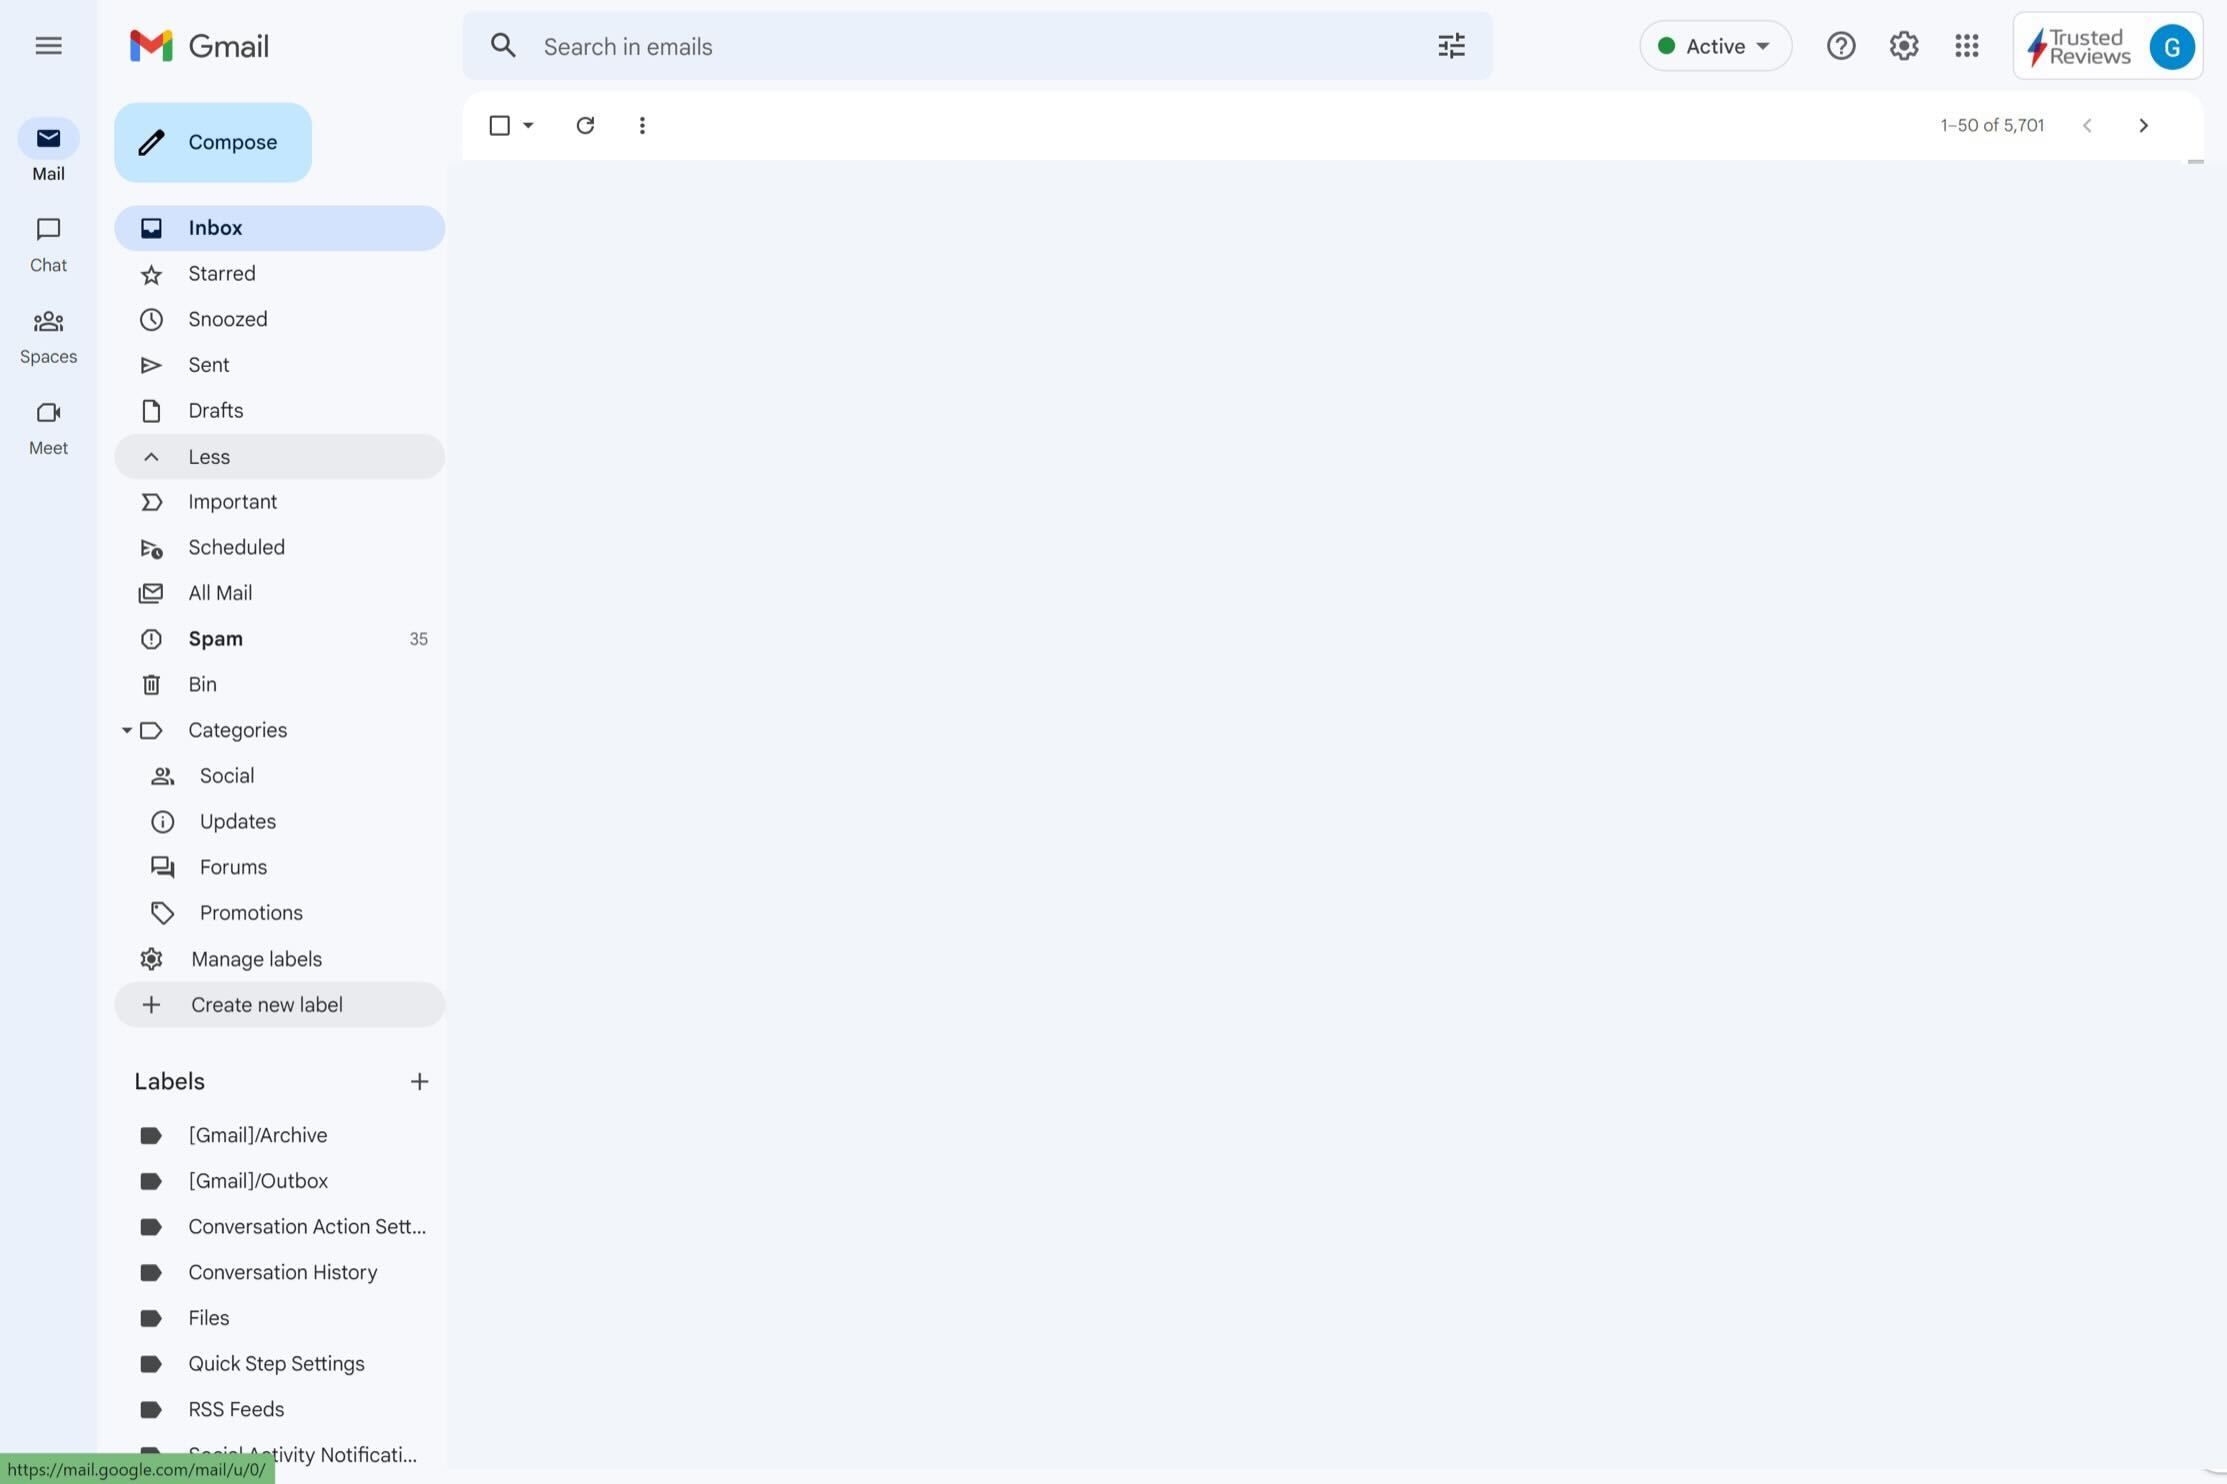
At the very bottom of the menu, there is a button called Create new label. Click on it to continue.
Step
4Name your label
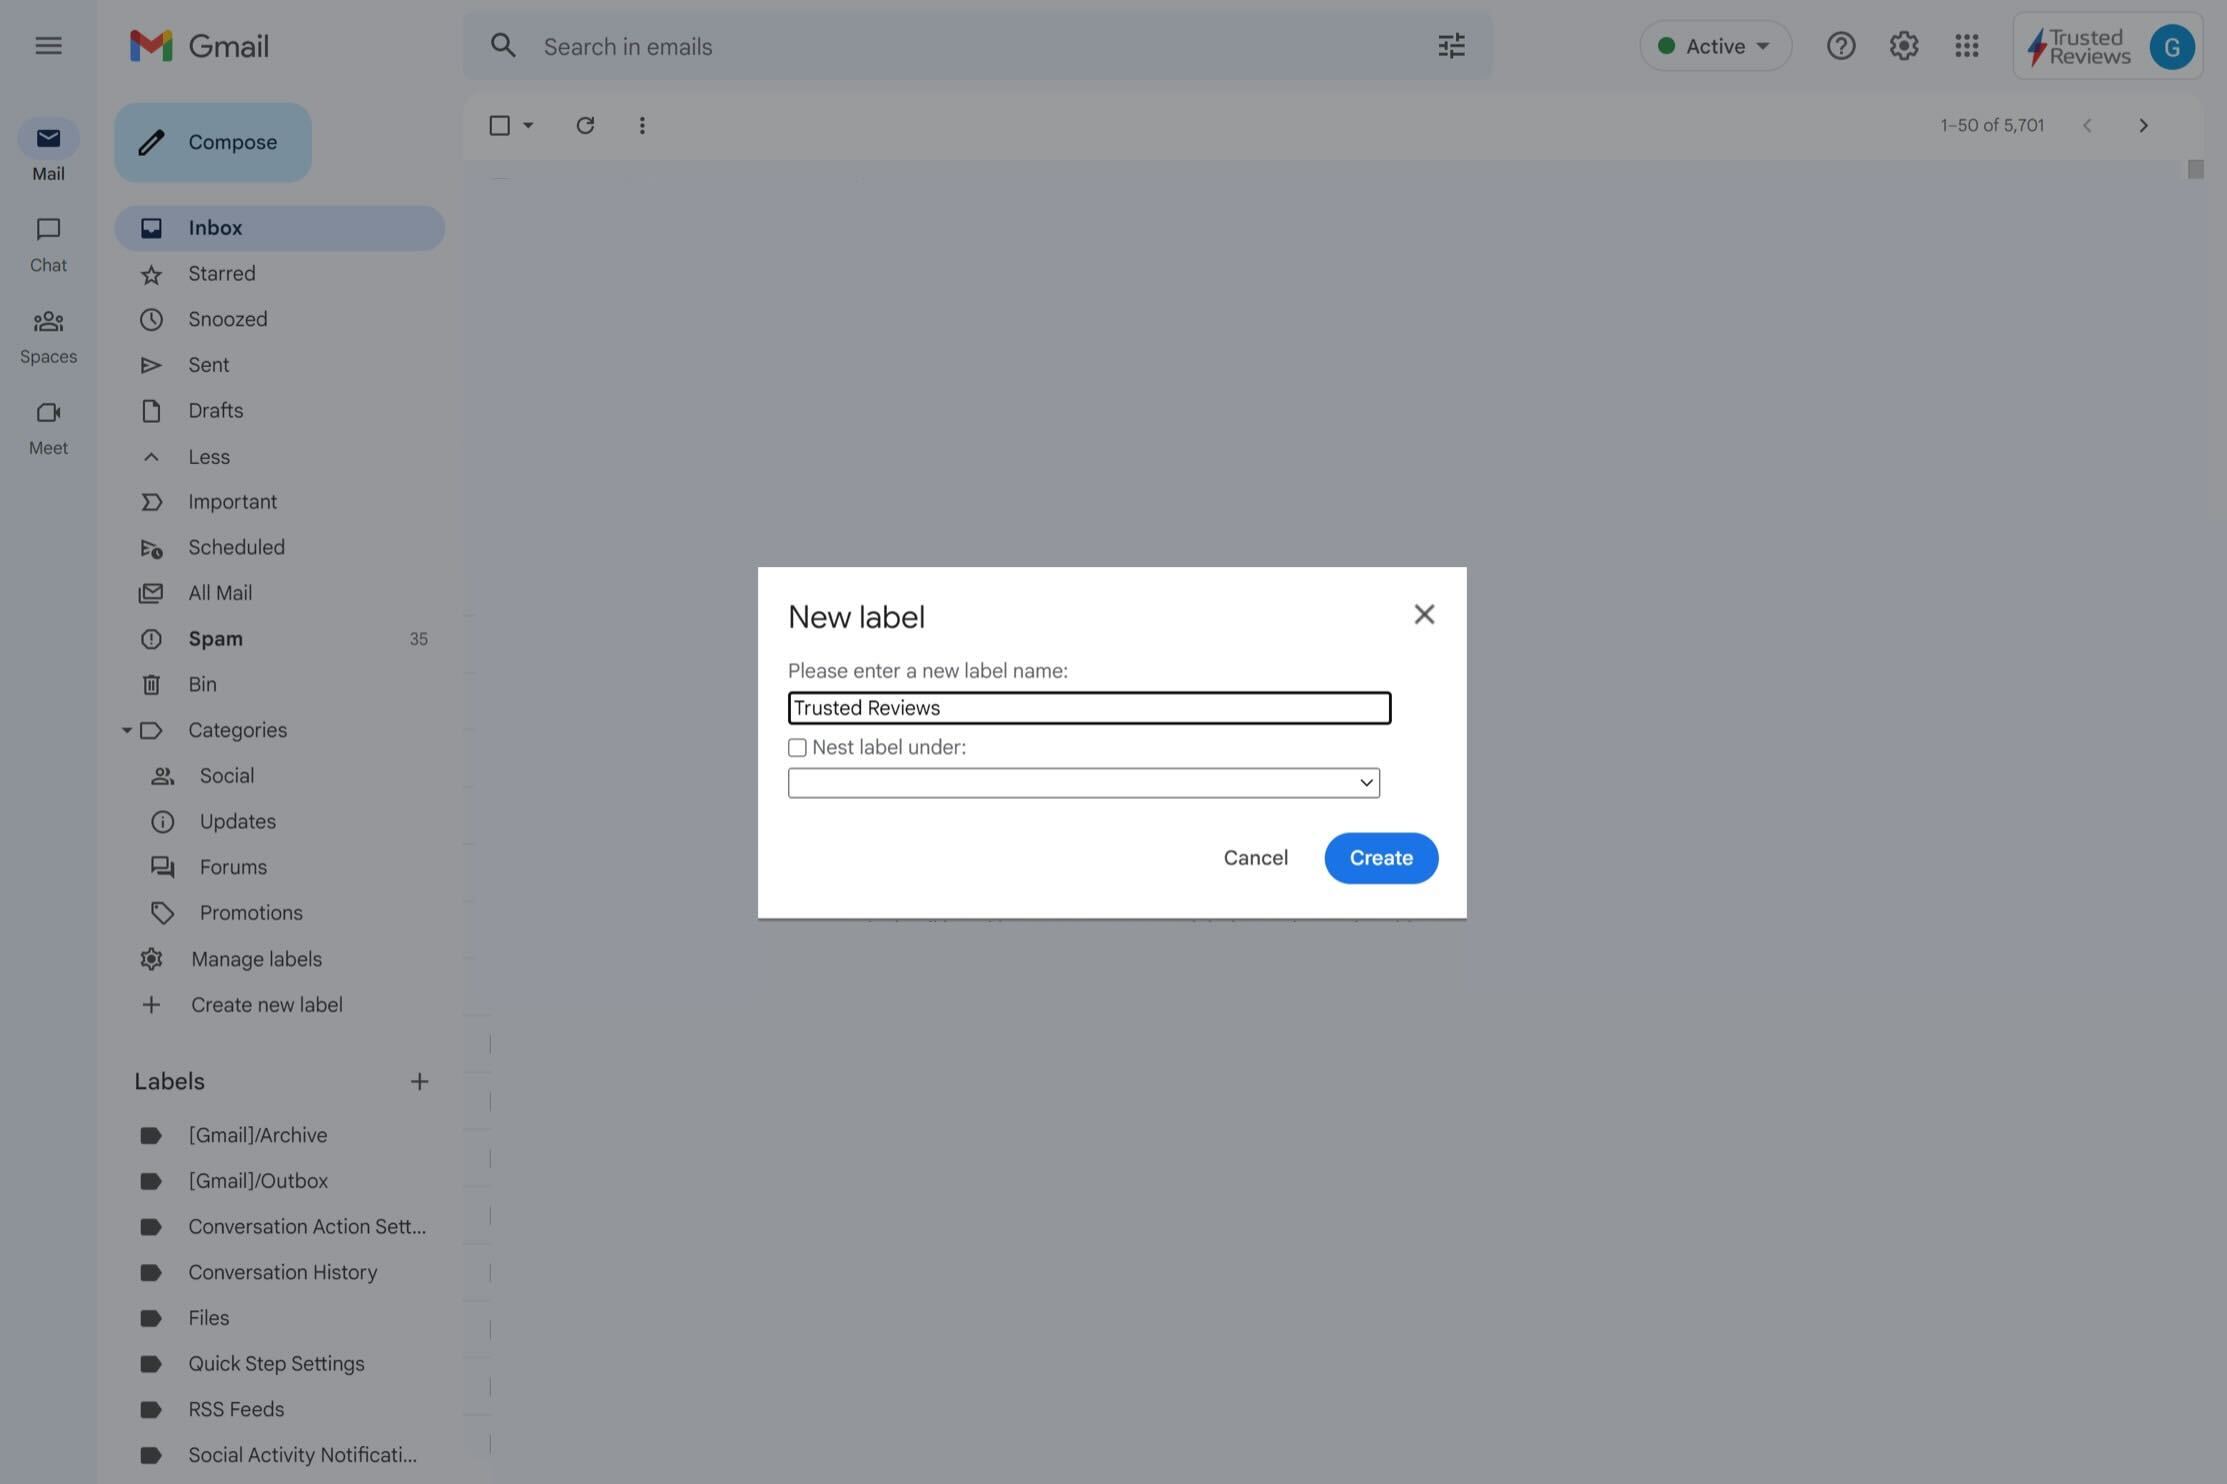
Make sure you give your label a clear and concise name that will make it easy to understand.
Step
5Click Create
Once you are happy with the name of your label, click on the blue Create button.
Troubleshooting
Yes, in Gmail you can add and create multiple labels and add them to the relevant emails in your inboxes.
You can search by each label individually or look in the dedicated folder for each label.
Editorial independence
Editorial independence means being able to give an unbiased verdict about a product or company, with the avoidance of conflicts of interest. To ensure this is possible, every member of the editorial staff follows a clear code of conduct.
Professional conduct
We also expect our journalists to follow clear ethical standards in their work. Our staff members must strive for honesty and accuracy in everything they do. We follow the IPSO Editors’ code of practice to underpin these standards.