There can be a bunch of reasons why you want to see print history on Windows 10. Maybe, you are unsure whether you have printed a document or not, or you are suspicious that someone is printing from your computer without your permission. However, no matter the reason, the question is how to see print history on Windows 10?
Luckily, Windows 10 lets you view your print history. But the only drawback is that you have to turn on the feature manually. So there is a pretty high chance that you won’t be able to see your past print history.

But you can always turn the feature on and keep track of what you print. To enable the feature, do follow this guide to track all printing jobs.
How to See Print History On Windows 10?
There are two ways to see print history on Windows 10. The first method is to use the Windows default program called Event Viewer. Or you can use a third-party print logging software called the PaperCut Print Logger.
Below you can find detailed steps for both methods— Event Viewer and PaperCut Print Logger to view print history.
1. Event Viewer
To view your print history using event viewer, you will need to activate it at first. For this, you can follow the below step-by-step guide:
- Right-click on the start menu.
- Click on Event Viewer.
- Next, navigate to Applications and Services Logs > Microsoft > Windows > PrintService.
- Then double click on the PrintService, and it will open up two more options.
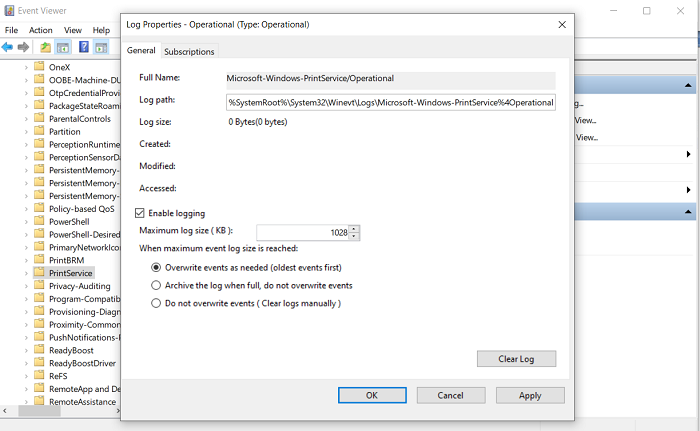
- Now right-click on the Operational option and go to properties.
- After that, a new window will appear on your screen. Place a checkbox next to the Enable Logging option and click on apply and ok button.
That’s it. Once you have enabled logging, Windows will keep a copy of the printed documents onwards. Now to check which files were printed on Windows 10, you can follow the below steps:
- Go to Event Viewer.
- Navigate to Applications and Services Logs > Microsoft > Windows > PrintService > Operational.
- Now under the PrintService, double-click on the Operational option.
- Over here, you will get a see a history of the printed documents. Plus, you can check the date and time, and task category of the printed document from here.
2. PaperCut Print Logger
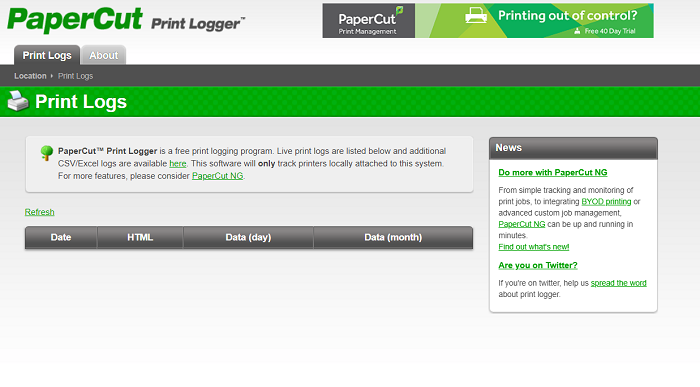
You can use PaperCut Print Logger for viewing print history on Windows 10. It is a free print logging software. There are multiple reasons to use this application. For instance, it can be used to view the time of print, the name of the user who printed, the total number of pages, document names, and titles, and so on.
To use PaperCut Print Logger, follow the below steps:
- At first, download PaperCut Print Logger using this link.
- Then double click on the setup file and complete the installation by following all the on-screen instructions.
- Next, open up This PC and navigate to this file location:
C:\Program Files (x86)\PaperCut Print Logger.
- Over here, you will find a shortcut named View Logs. Double click on it and use your preferred web browser to see print history on Windows 10.
However, as it doesn’t come with an app launcher, so for easier access, you can create a shortcut of the View logs on your desktop. So you don’t really have to go to the installation folder to see your print history.
So those were two methods to see print history on Windows 10. Both of the methods are extremely easy to follow. However, if you ask me, I would recommend using the PaperCut Print Logger because it is easier to access. In the end, I hope that this post has helped you to see print history on Windows 10.


