Mississippi Roast
Southern Kitchen's definitive guide to braising anything and everything
The art of braising can be pretty intimidating and different people have different methods of getting their short ribs, pot roast or lamb shanks just right. To help you master this crucial cold-weather technique, we've created an extensive to-do guide to braising — just in time for the change of seasons.
Temperatures are dropping, leaf colors are changing and households across the country are pulling out their Dutch ovens in preparation for hearty chili, stews and braised meats. On its face, braising looks pretty labor intensive. There is the browning of the meat, caramelizing of the vegetables, adding the right amount of liquid ... and then your dinner has to cook for upwards of 3 to 4 hours.
But, I assure you, braising is actually one of the easiest methods of cooking there is. Once you get the hang of it, it's a set-it-and-forget-it technique you can use to deliver delicious meals all year long.
What is braising?
All cooking techniques can be classified into two categories: wet and dry. On the dry side you have roasting, searing and sauteing. Wet cooking methods include steaming, poaching and, of course, braising.
Braising is unique in that it is actually a combination of both dry and wet methods. When braising, meat is first seared in order to develop roasty, toasty flavor. It is then cooked in a small amount of liquid (such as stock, wine, juice or even water) in order to, traditionally, make fairly tough cuts of meat tender and flavorful.
And you can really go fairly wild here with your meat choices. Pork, beef, chicken, lamb — it's all fair game. Generally, larger cuts that contain fat, connective tissue and/or bones will give you the best results with this low and slow cooking method. Think: chuck roast, pork shoulder, short ribs, lamb shanks and whole chicken leg quarters. This isn't the time for lean cuts like tenderloin and chicken breasts, which tend to dry out and become tough over a long cook time.

The 4 steps to properly braise just about anything
1. Heat
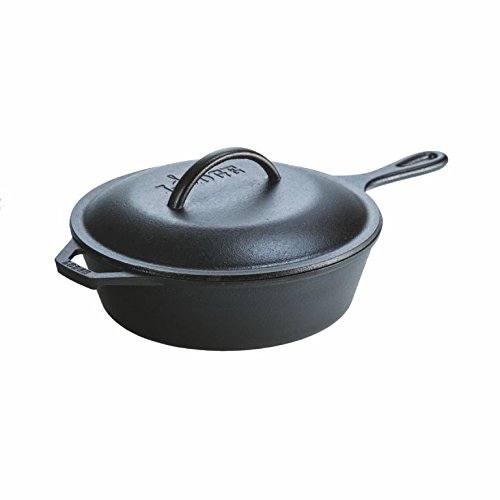
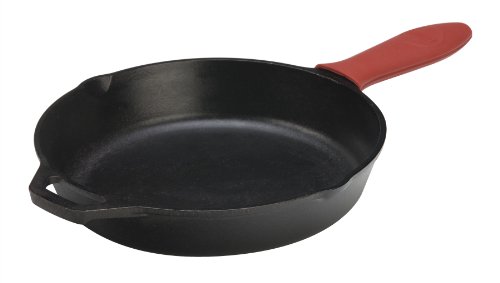
First and foremost, make sure that you've properly heated up whatever pot or pan you're planning on using. Dutch ovens are a favorite braising vessel because they're made from heavy cast iron, which will help to retain and regulate heat. A good way to ensure that your pot is hot enough is to use what's often called the mercury test: simply sprinkle a few droplets of water into your pot, and watch to see what happens. When your pot is fully heated, the water should immediately form small round beads (much like mercury) and swoop and sizzle around in the pot before evaporating. At this point you're ready to add your cooking oil.
2. Season and Sear
As your pot is heating, pull out your salt cellar and generously season your meat of choice. Add the seasoned meat to your hot pot and sear each side of meat until it has a beautiful brown crunchy crust. Take care to both not crowd the pan (you want to brown, not steam the meat) and not burn the any meat juice or pieces left in the pan. This caramelized fond will add tons of umami flavor to your dish. Once well-browned, remove the meat from the pan and set aside. Remember, you're not cooking the meat through at this point. You're simply getting some good color.
Next add in any vegetables you're planning on using. Cook them while stirring until good and tender. A good rule to follow is onions first, then garlic, and then whatever other vegetables or aromatics you want to include. The point in doing so is to add levels of flavor at each step in the cooking process. Don't forget to season as you go!

3. Add liquid
Once the vegetables and aromatics are tender and have some good color on them (remember, color = flavor), add in liquid. The liquid you add really depends on the flavor you want to achieve. Stock or broth will provide a cleaner flavor profile than wine, which adds sweetness and tannins. And don't forget about all those delicious brown bits on the bottom on your pan. Adding liquid to these helps loosen them up — don't forget to give them a hand by using a spoon or spatula to scrape them up as your liquid comes to a simmer. This process is called deglazing and, in addition to adding more flavor to your dish, it also helps clean up your pan a bit. Win-win.
4. Leave it alone
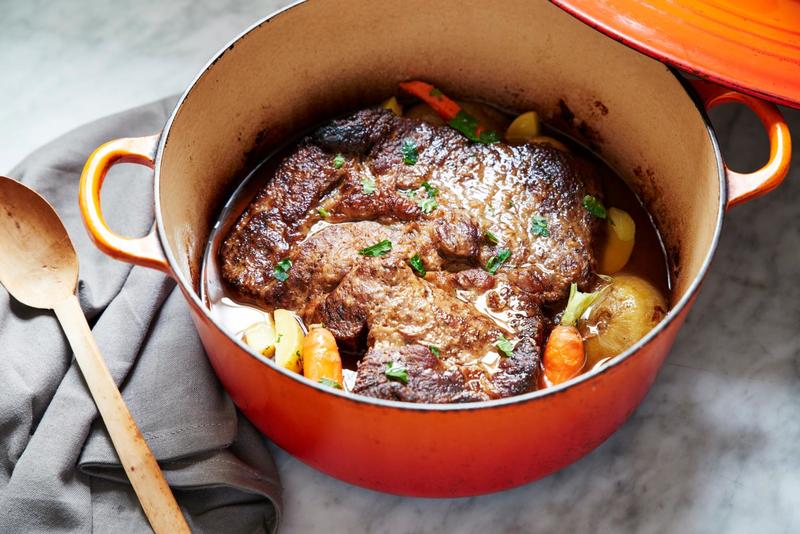
After you add in your liquid now is the time to return the meat to the pan. Cover the pot, reduce the heat and let the magic happen on its own. Yep, you'll want to just ignore the pot for a few hours and let your meat braise away until fall-apart tender.

Recipes to try
All that is left now is to actually get to cooking. These recipes are perfect for braising beginners:
Anne Byrn's Braised Pot Roast with Sweet Onion Gravy
Beef Tongue Pot Roast with Onion Gravy
Tomato-Braised Chicken Thighs
Low and Slow Braised Beef Brisket
Cider-Braised Pork Shoulder
Mississippi Roast
Virginia Willis' Braised Short Ribs
Photo (tomato pot): Ramona King
Photo (raw short ribs): Virginia Willis
Photo (cooked short ribs): Virginia Willis
Photo (pot roast): Danielle Atkins
Photo (beef tongue and mashed potatoes): Ramona King

Ryan Hughley is an associate editor at Southern Kitchen. Though originally from Los Angeles, she has lived in Atlanta since early 2017 and cannot imagine calling any other city home (except maybe New Orleans). Before joining Southern Kitchen's staff, Ryan worked on Capitol Hill in Washington, D.C. on public policy issues. When she's not at work, she enjoys hunting down the best Mexican food in the city and drinking whiskey, obviously.