The film era, despite its many virtues, had one major drawback: your photos were taken on physical film and required some expertise to edit in the dark room.
Digital cameras changed that entirely with the advent of digital, removable storage. You can take as many photos as you want (or whatever your memory card can store) and delete them if you don’t like them.

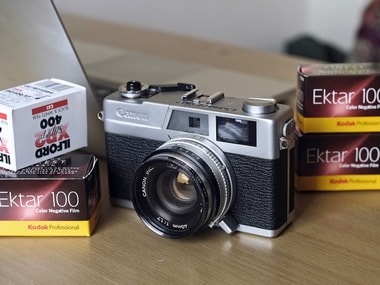
A representational image of a retro film-based camera.
There’s another advantage to this approach: digital photos can now finally be edited thanks to the magic of software. But as time went by, it came to be that a lot of the image’s data was compressed by the camera’s image processor (especially if shot in monochrome or using a picture style). Plus the JPEG image format by nature is a lossy format. Think of it as what MP3 is to audio files. Therefore, the RAW format became popular. Let’s take a closer look at the power of RAW.
What Is RAW?
RAW doesn’t go by one name. Some companies call it DNG (for Digital Negative), since RAW, in essence, is the digital negative of a photograph. When we shoot in JPEG (the standard image format in pretty much any camera), half the work is done by the sensor (capturing the light) and the rest is done by the processor, compressing it, adding a Bayer-Matrix filter to it and outputting it into a JPEG file.
RAW does only half of this. The image is captured, but then the decision of compressing or editing it is left to you. This gives you full control over the image even from the shooting stage. It also gives you lossless data to work with.
For example, a 24 MP camera shoots a JPEG that could be around 10 MB in size, while a photo in RAW will be around 24 MB or more because RAW doesn’t discard any of the image data.
But, why RAW?
This is incredibly useful when shooting high-priority projects that have to be on display, for example. Or if you’re doing something niche like astrophotography where more data always results in better photos.
RAW has gotten so advanced that it even saves the camera settings you shot the image in, into a file as meta-data. This means that you can adjust some of the settings again in post-processing, like white balance or ISO.
The best part is that when your changes are applied to a RAW file, the changes are not saved but instead can be exported to another format, meaning your original files are not affected. This lets you do rollbacks in case you need to.
Another advantage is that unlike a JPEG file, a RAW file gives you much more leeway to edit your images. The editing tolerance is much much granular on the RAW files than on JPEG files.
How do I get started?
It’s not that difficult. In your camera’s settings, go to the image format setting. There should be a setting called RAW (for Canon) or DNG (for Nikon, Samsung, Sony etc). If you have a smartphone, chances are it supports RAW too. At least, the newer mid-range ones do.
Otherwise, there are plenty of third-party apps which can take RAW images (but do make sure your phone is compatible with the app as the sensor may not be able to handle it).
Are there any disadvantages of RAW?
Quite a few.
For instance, RAW files are big. Really big. While some people appreciate the lossless data, you’ll find that your memory cards will run out rather quickly if you shoot in RAW and nothing else.
Another factor to note is that you’ll need to post-process nearly every image you take since all of them have nearly zero post-processing. So out of the camera, the images are quite flat.
The editing workflow for RAW is slightly longer than that of a JPEG image, and it only becomes more apparent if you have a large batch of images to edit. Programs like Lightroom that have batch editing make this step a little easier, but it’s a point to note nonetheless.
Shooting in RAW is also slower, but this also depends on the camera you’re using. Smartphones, for instance, are capable of taking RAW photos these days but they’re incredibly slow. Same goes for point-and-shoot cameras.
Even entry-level DSLRs cannot shoot a proper burst mode when shooting in RAW because the files fill up the buffer so quickly.
So next time you go shooting, show that RAW mode some love.
Published Date: Mar 11, 2018 13:49 PM | Updated Date: Mar 11, 2018 13:49 PM


